8. Molding and casting
What is molding and casting?
Molding and casting are techniques used to form objects from various materials, often employed in manufacturing and artistic endeavors.
Molding
Molding is the process of creating a hollow shape known as a mold, which determines the final product’s form. The mold can be constructed from materials such as metal, plastic, or silicone. The procedure generally involves:
Mold Creation: A mold is formed by shaping a material around a model or using a two-part design.
Filling the Mold: The selected material (such as resin, plaster, or metal) is poured into the mold.
Solidification: The material hardens inside the mold, taking on its shape.
Casting
Casting is the method of pouring a liquid material into a mold, allowing it to solidify into a specific shape. This process can utilize various materials, including metals, plastics, and concrete. The primary steps include:
Mold Preparation: A mold is made, often in two sections.
Material Pouring: The liquid is poured into the mold.
Curing: The material is left to harden, after which the mold is removed to reveal the finished item.
Key Differences
Molding typically refers to the creation of the mold itself, whereas casting involves the act of pouring material into the mold.
Molding can be considered a part of the casting process since molds are essential for shaping the final product.
Both methods are widely used across various sectors, including manufacturing, art, and construction.
Group assignment
For our group assignment, we worked with the resin and hardener mixture. The mold was ready to receive the mixture, but first, we conducted research on the material we wanted to use. We gathered information about aspects such as mixing ratios and working times, among other details. And our group assignment was listed under the name material 3
click to view our group assignment
Procedure
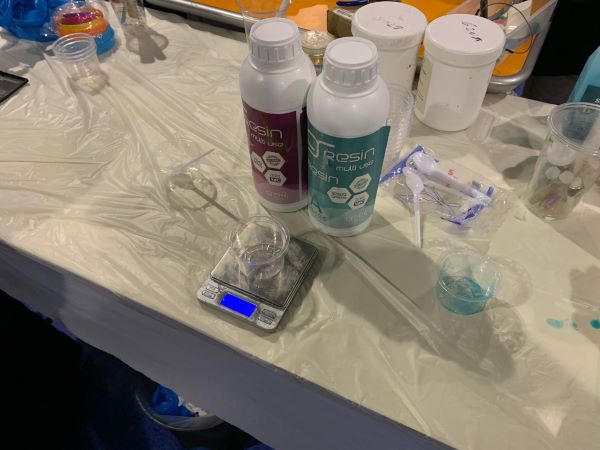
- Step 1: We set up all the materials and tools we would be using, including the scale, gloves, plastic spoons, and plastic cups.

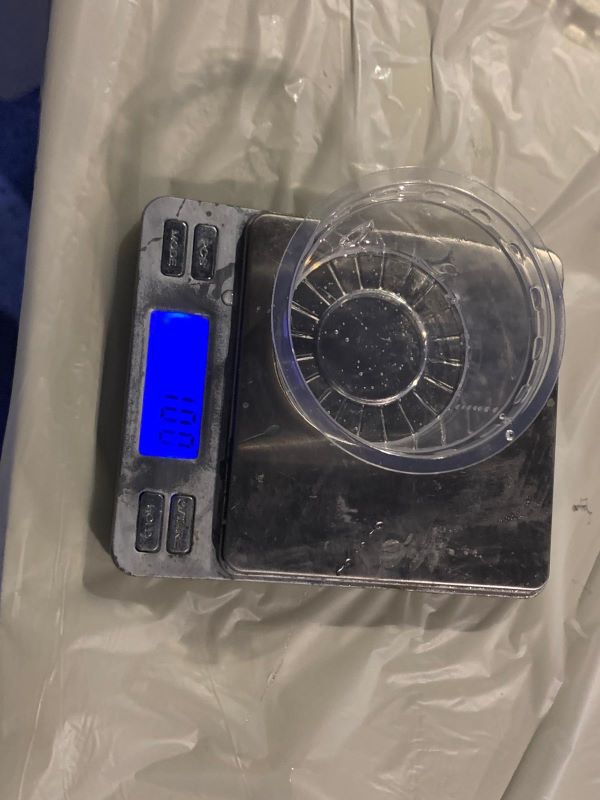
- Step 2: I placed the plastic cup on the scale and poured in 10 grams of resin, then mixed it for at least 2 minutes.
- Step 3: I repeated the same process for the hardener, pouring in 6 grams, as the mixing ratio for the material we were using is 10 grams of resin to 6 grams of hardener, as indicated on the bottle stickers. Then, I mixed the hardener for two minutes.

-
Step 4: After mixing each material separately for 2 minutes, we poured the resin into the hardener cup and mixed it for 2 minutes. Then, we poured the mixture back into the resin cup and mixed it for another 2 minutes.
-
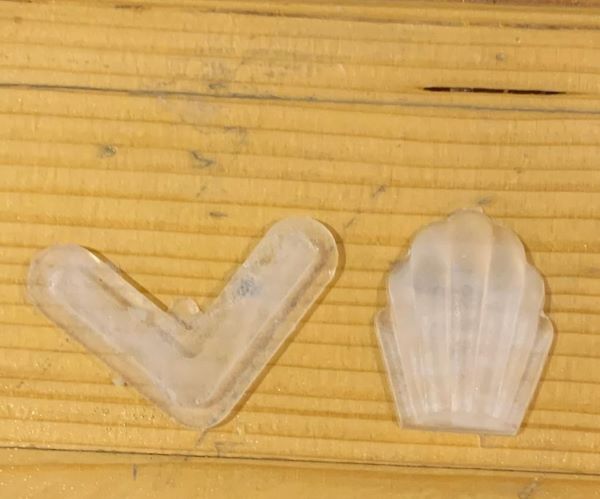
Lastly, we poured the hardener and resin mixture into the mold to create two beautiful castings, and we had to wait 24 hours for the mixture to fully cure at room temperature.
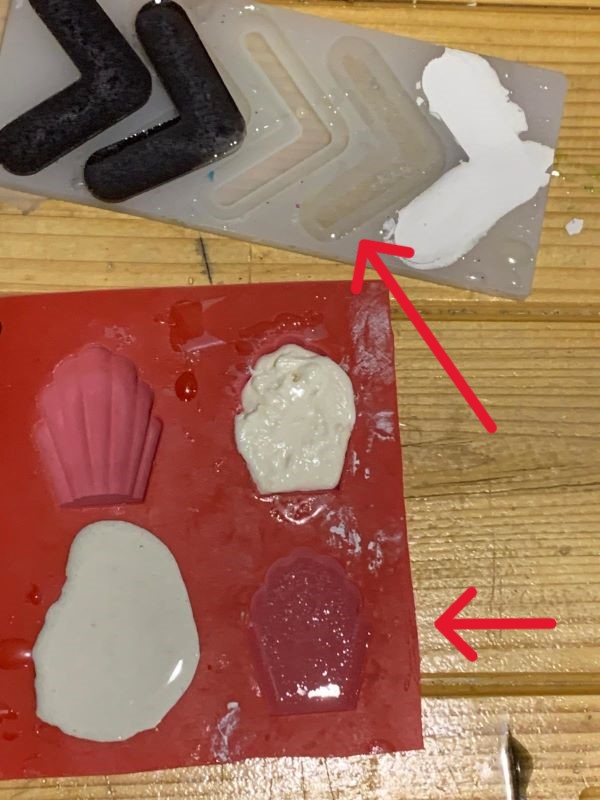
And here are the final results we achieved.
Individual assignment
This week, I used Autodesk Fusion to create a shape that I can mold by cutting it with the milling machine. After that, I’ll pour the resin and hardener mixture into the mold to make a keychain.
Procedure (Drawing)
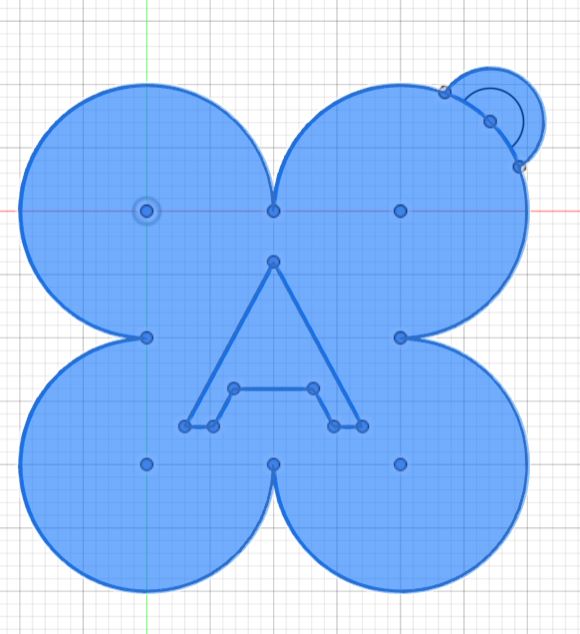
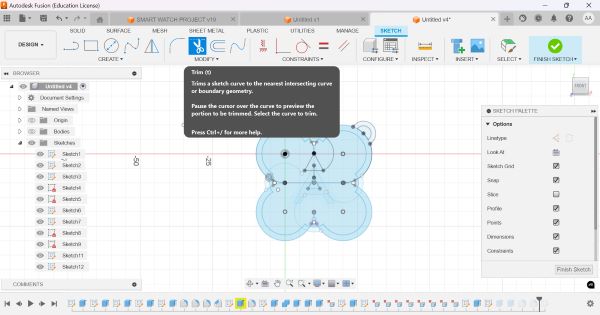
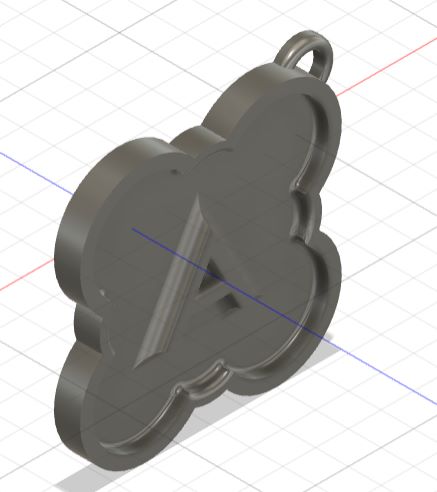
- Step 1: I drew four circles with a diameter of 20 mm, then added the letter A in the center of the four circles. After that, I trimmed the extra lines using the “Trim” option.
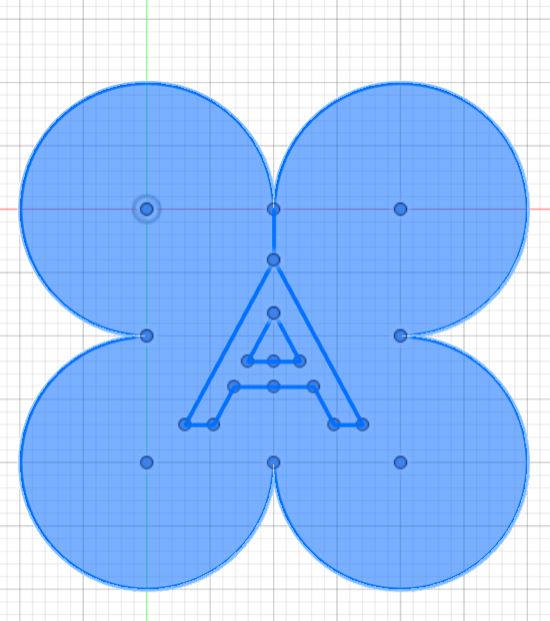
- Step 2: I drew a hole on the outer periphery of the circle on the right. This hole will allow me to hang the keychain with my keys.
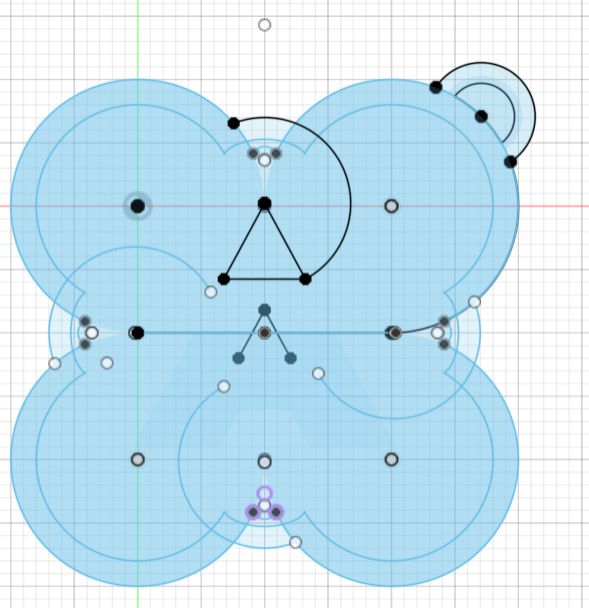
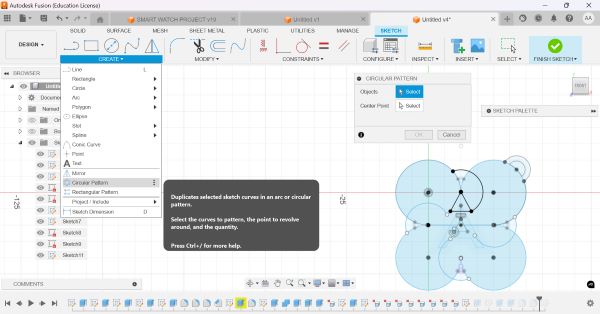
- Step 3: I drew a circle between the two circles on top, used the “Trim” option to erase the extra line, then tapped on “Create” and selected “Circular Pattern.” I chose the arc I wanted to create a pattern from.
- Lastly, I extruded the shape by selecting the portion I wanted to extrude, then right-clicking and tapping on “Extrude.”
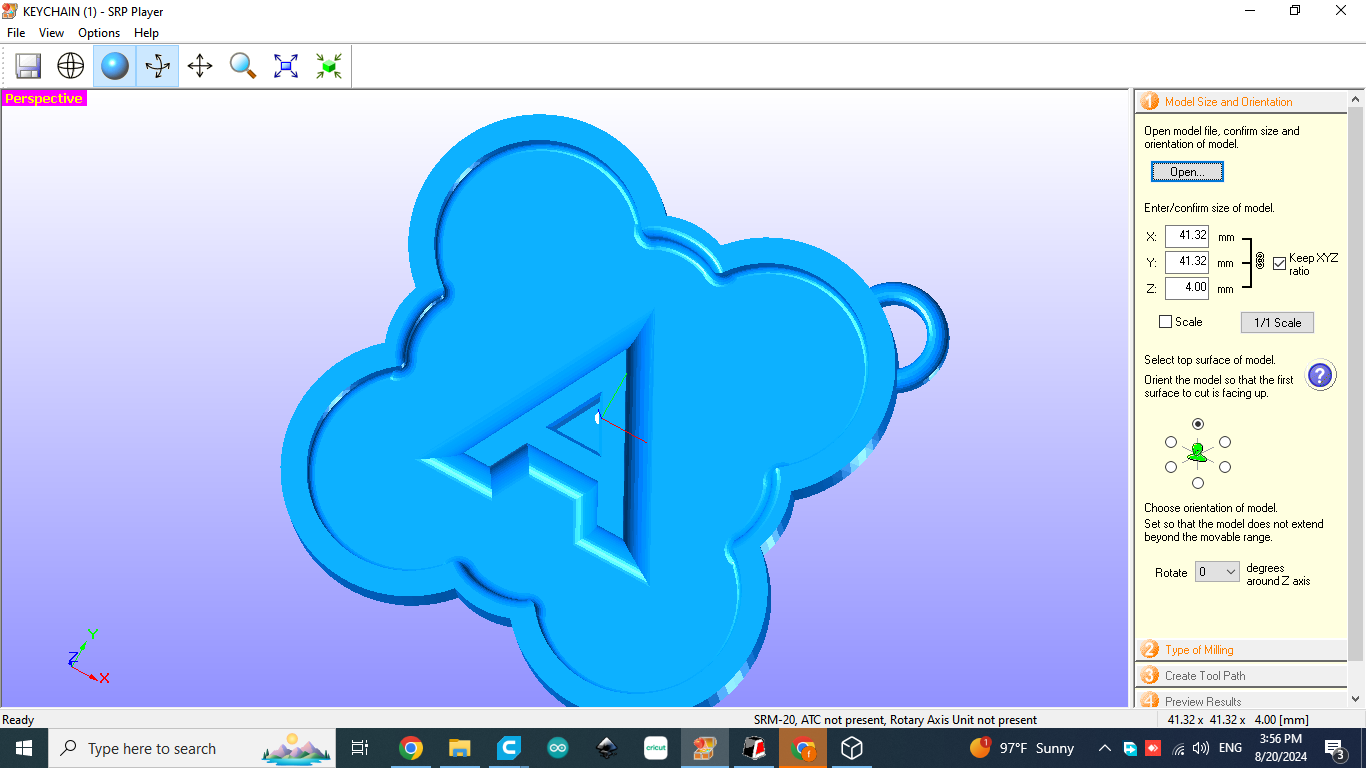
And here is my simple design, which I created from scratch using Autodesk Fusion. I will use the milling machine to engrave it on the wax block to make a mold.
Procedure (Molding)
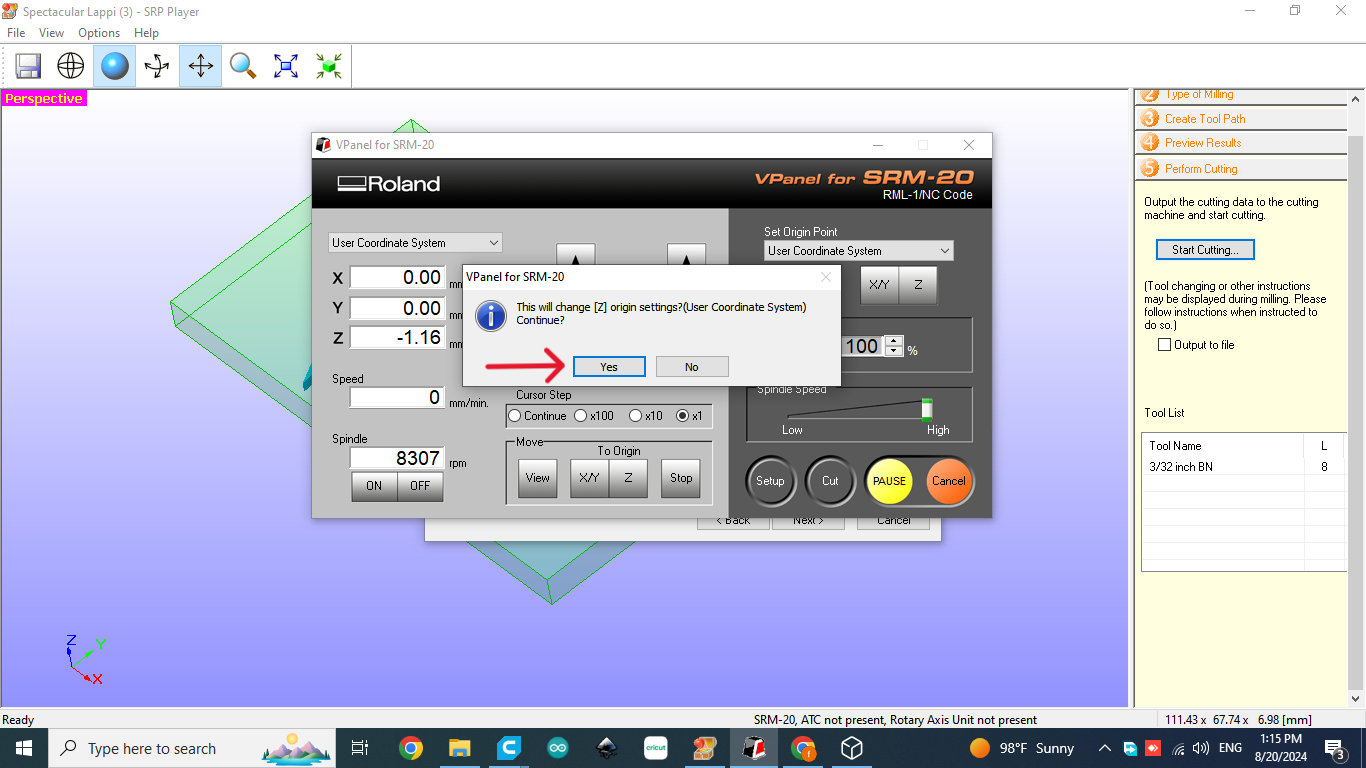
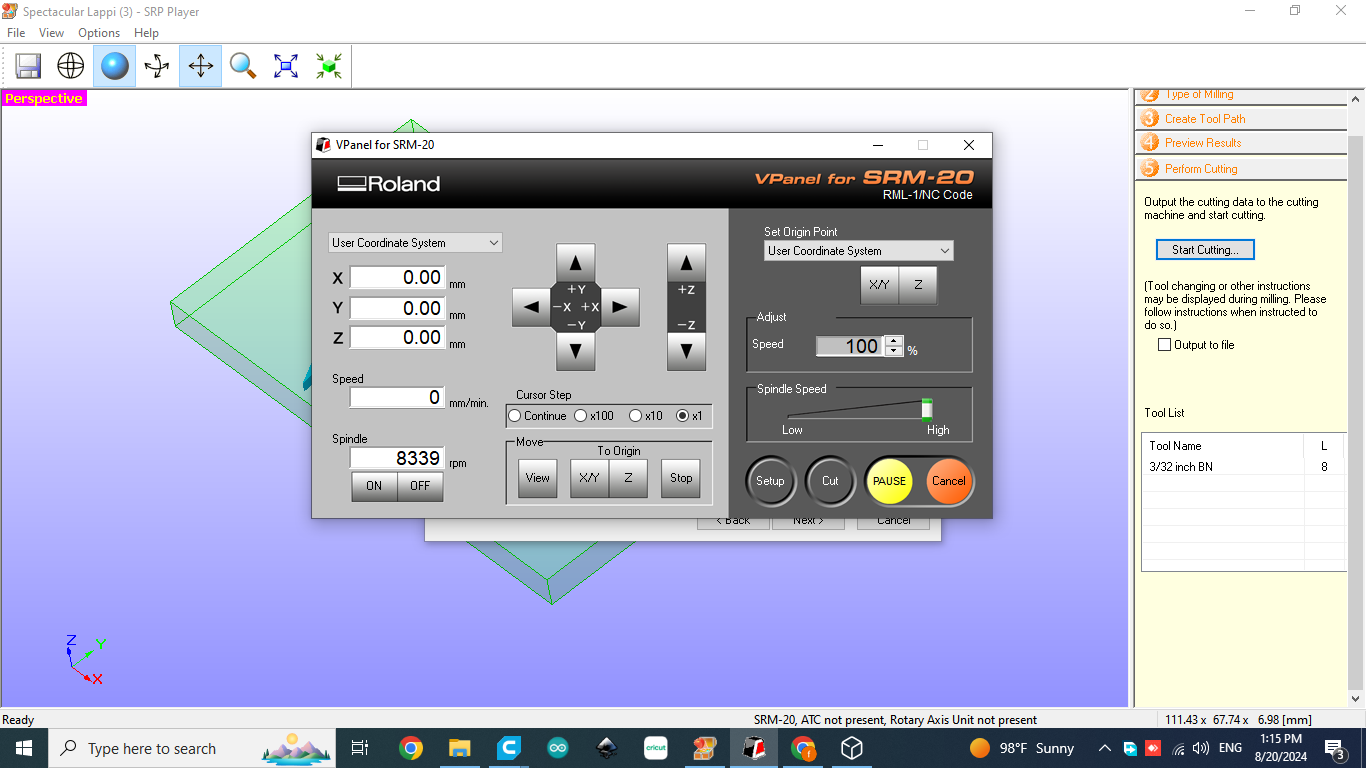
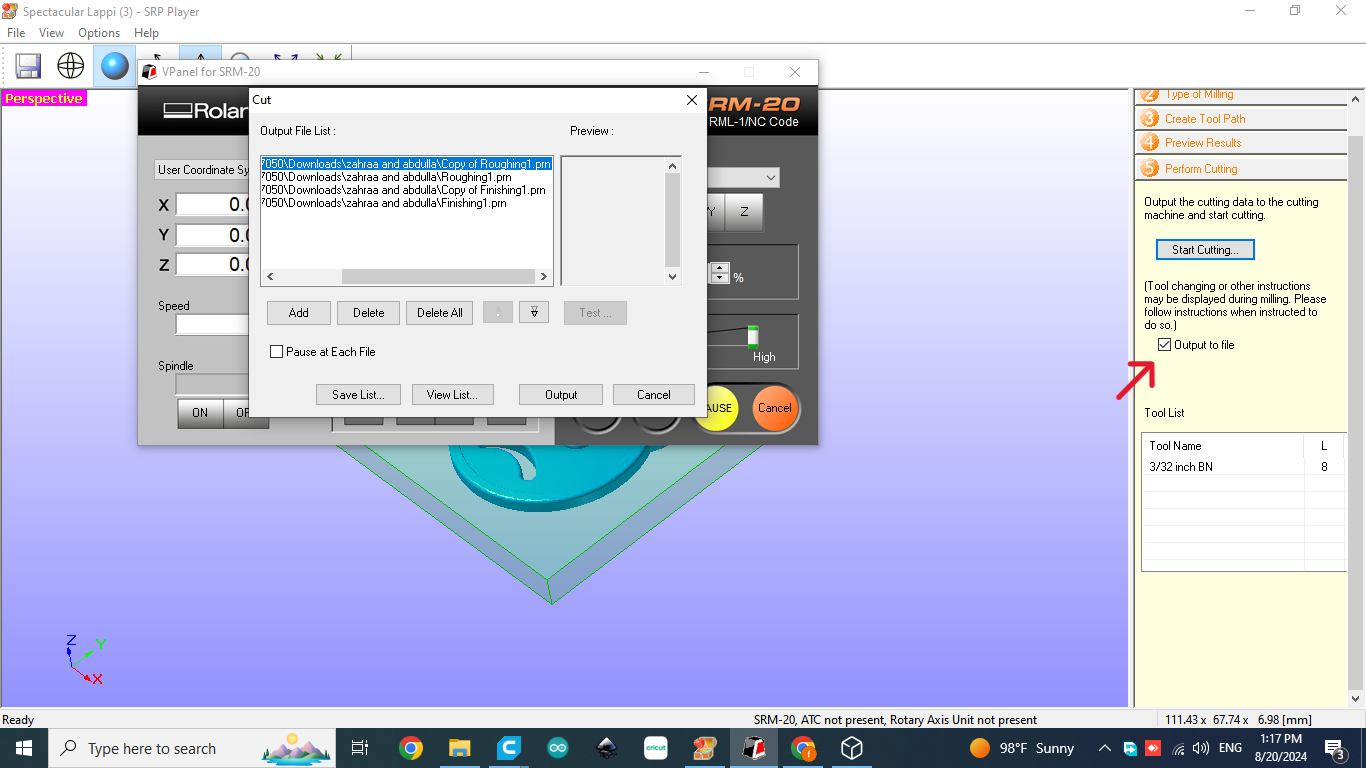
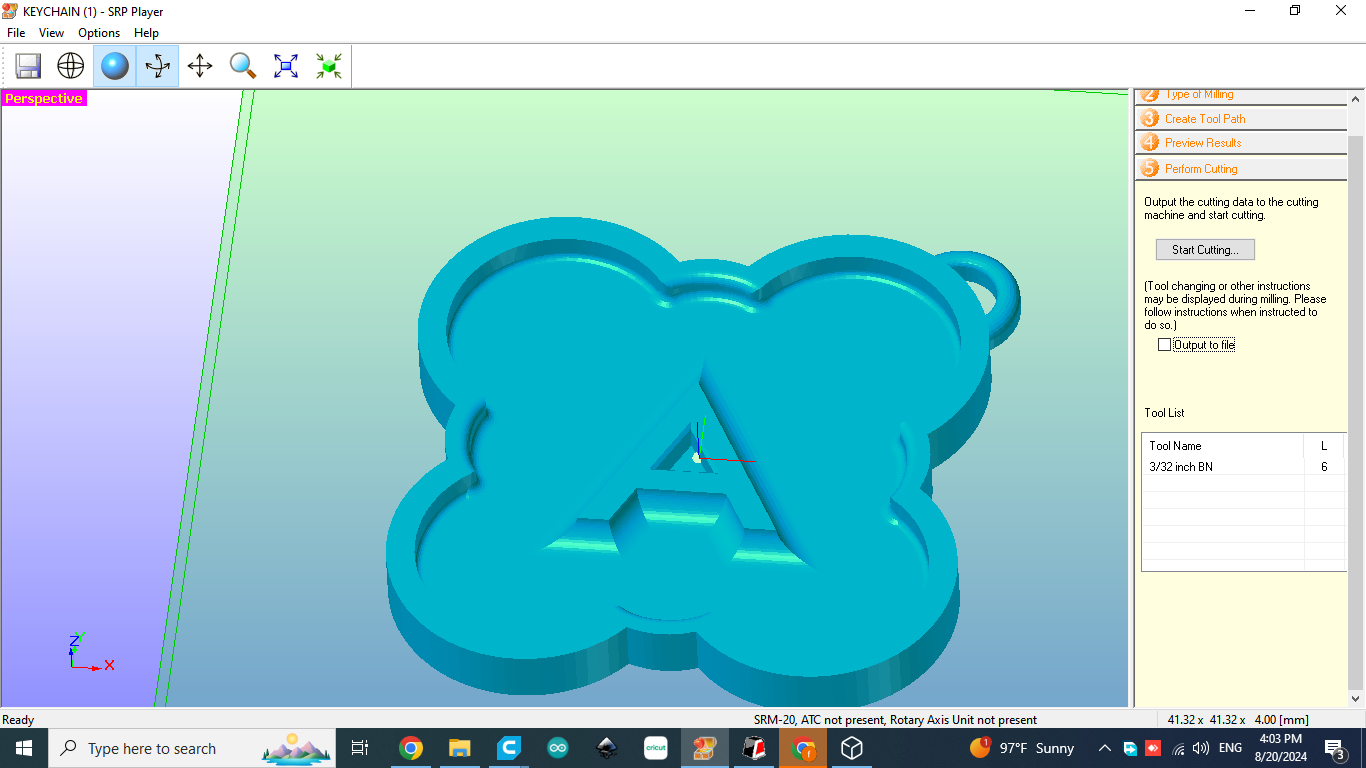
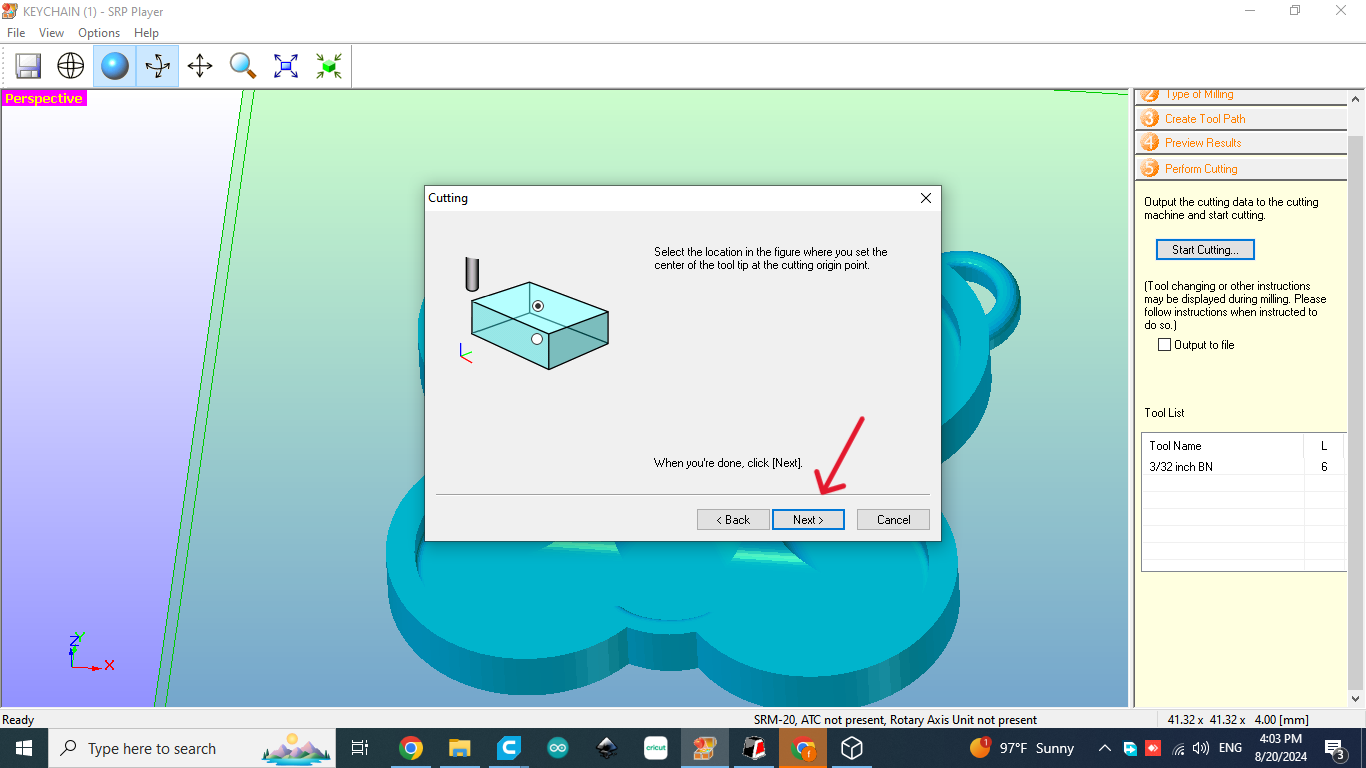
I Upload the Autodesk Fusion file in STL format, then adjust the settings and configure the shape for the milling operation.


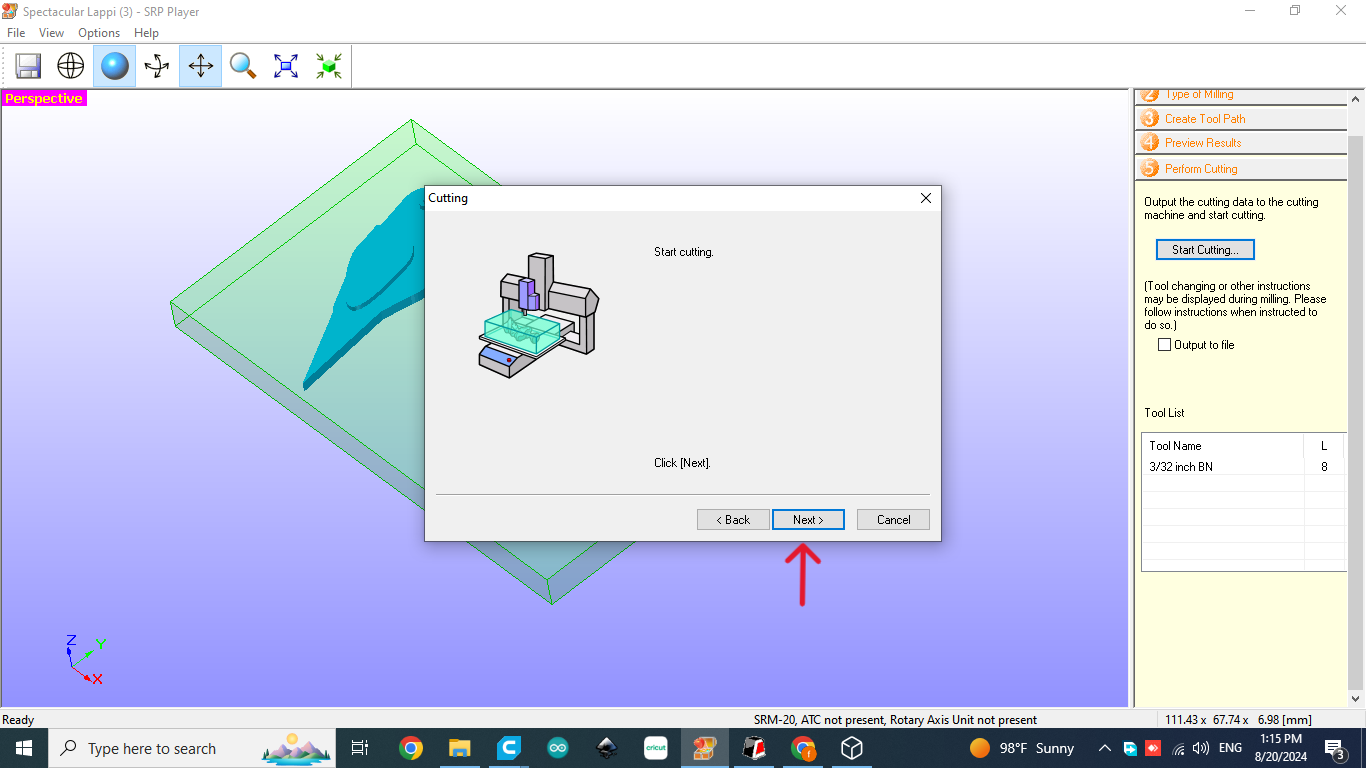


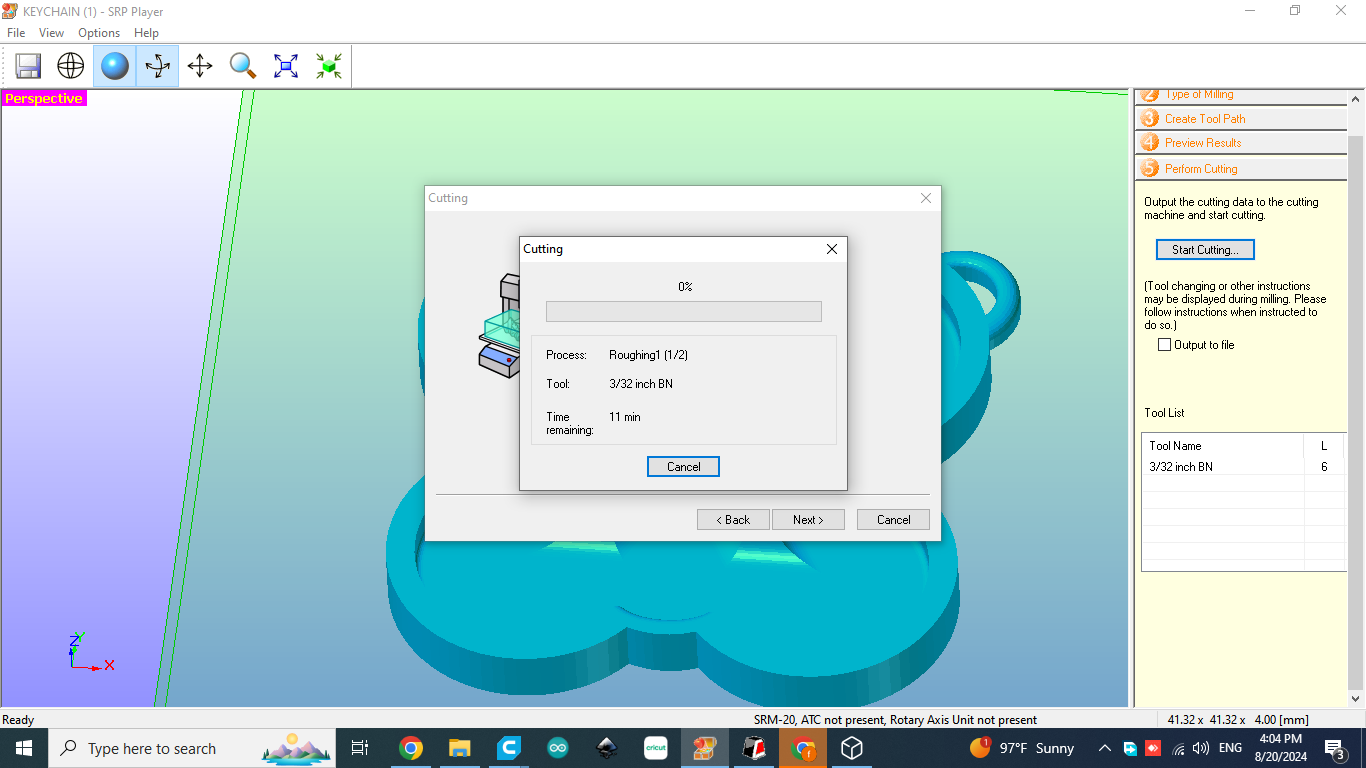
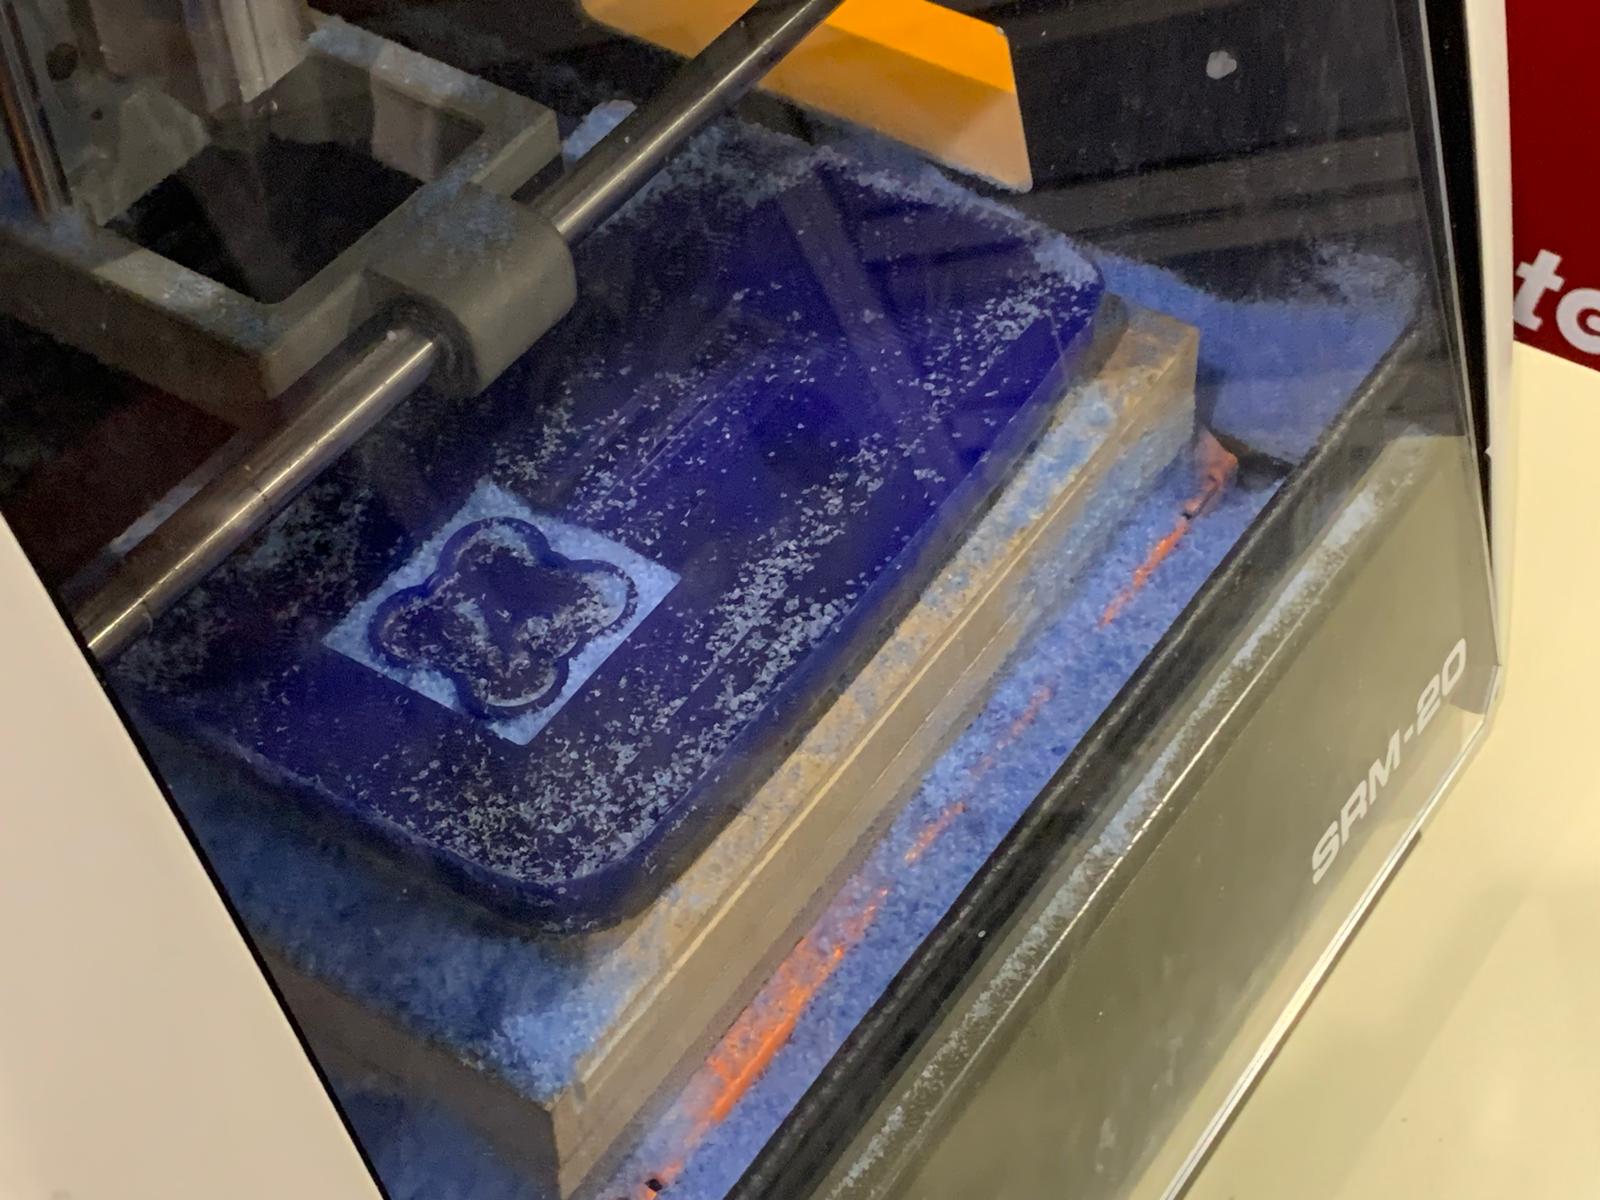
Here’s a brief video of the machine as it carries out the engraving.

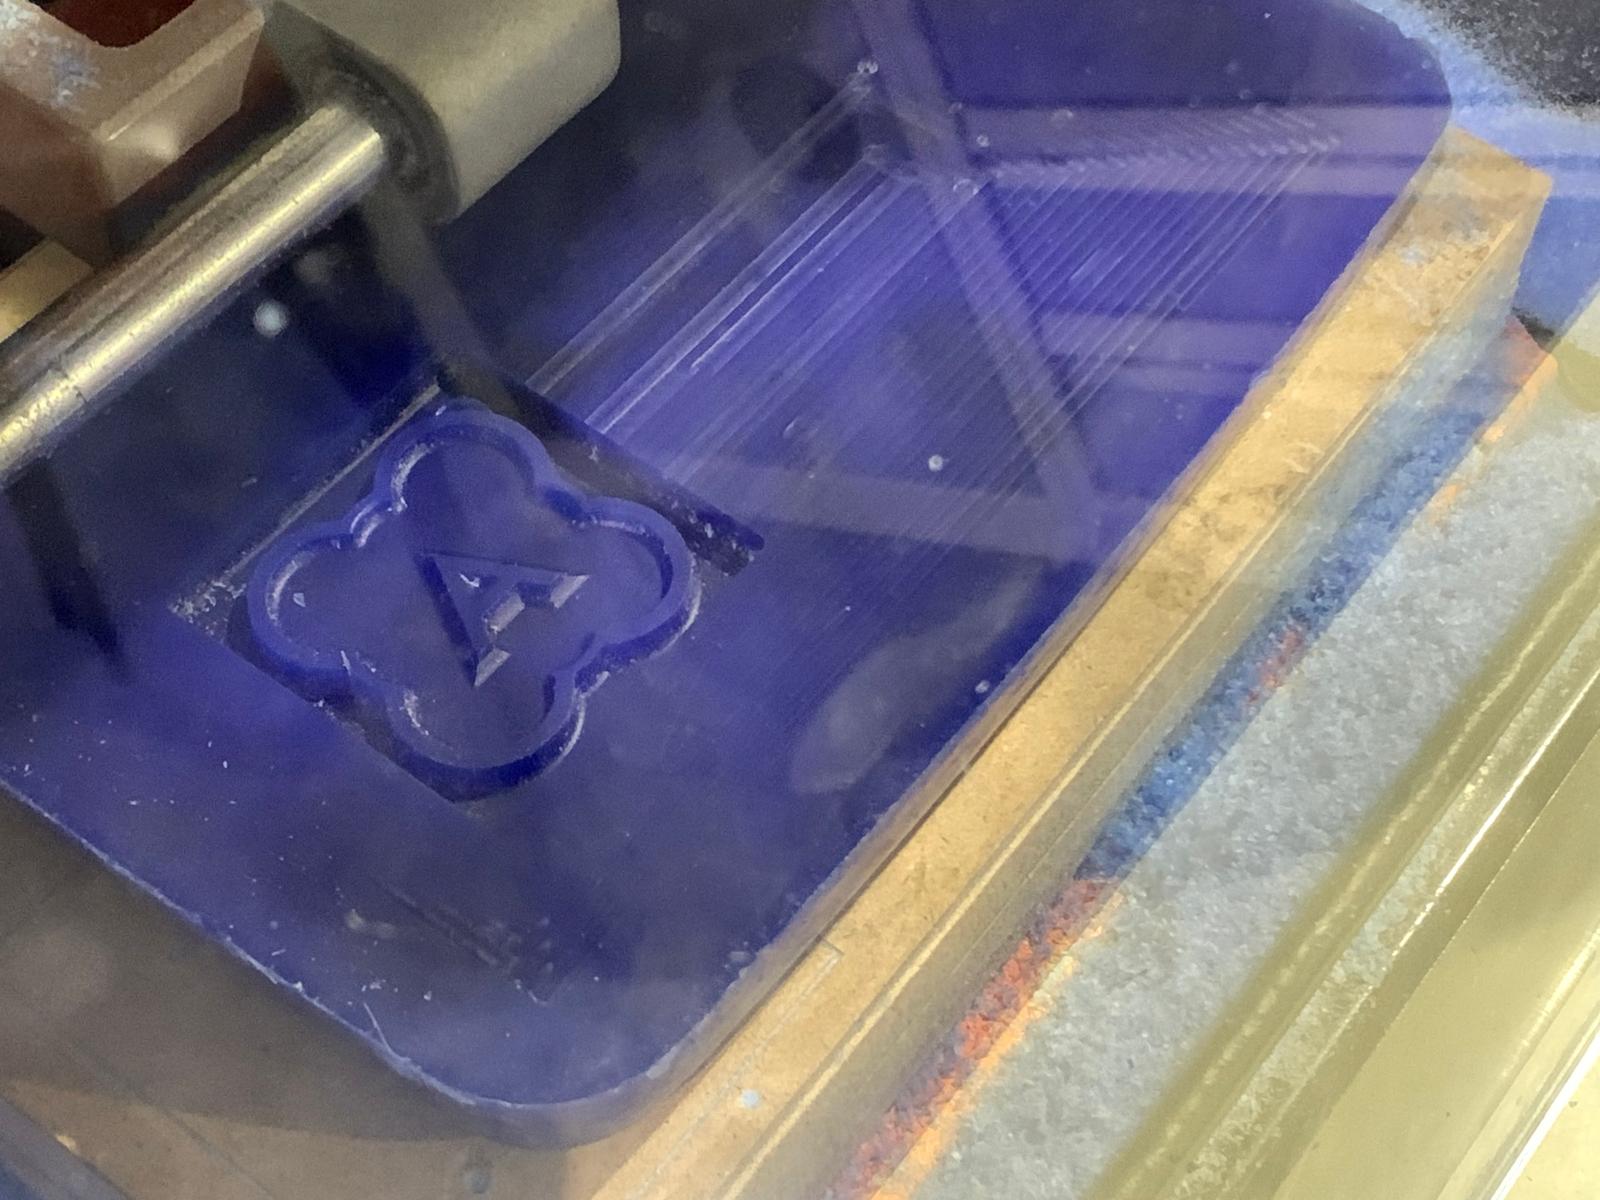
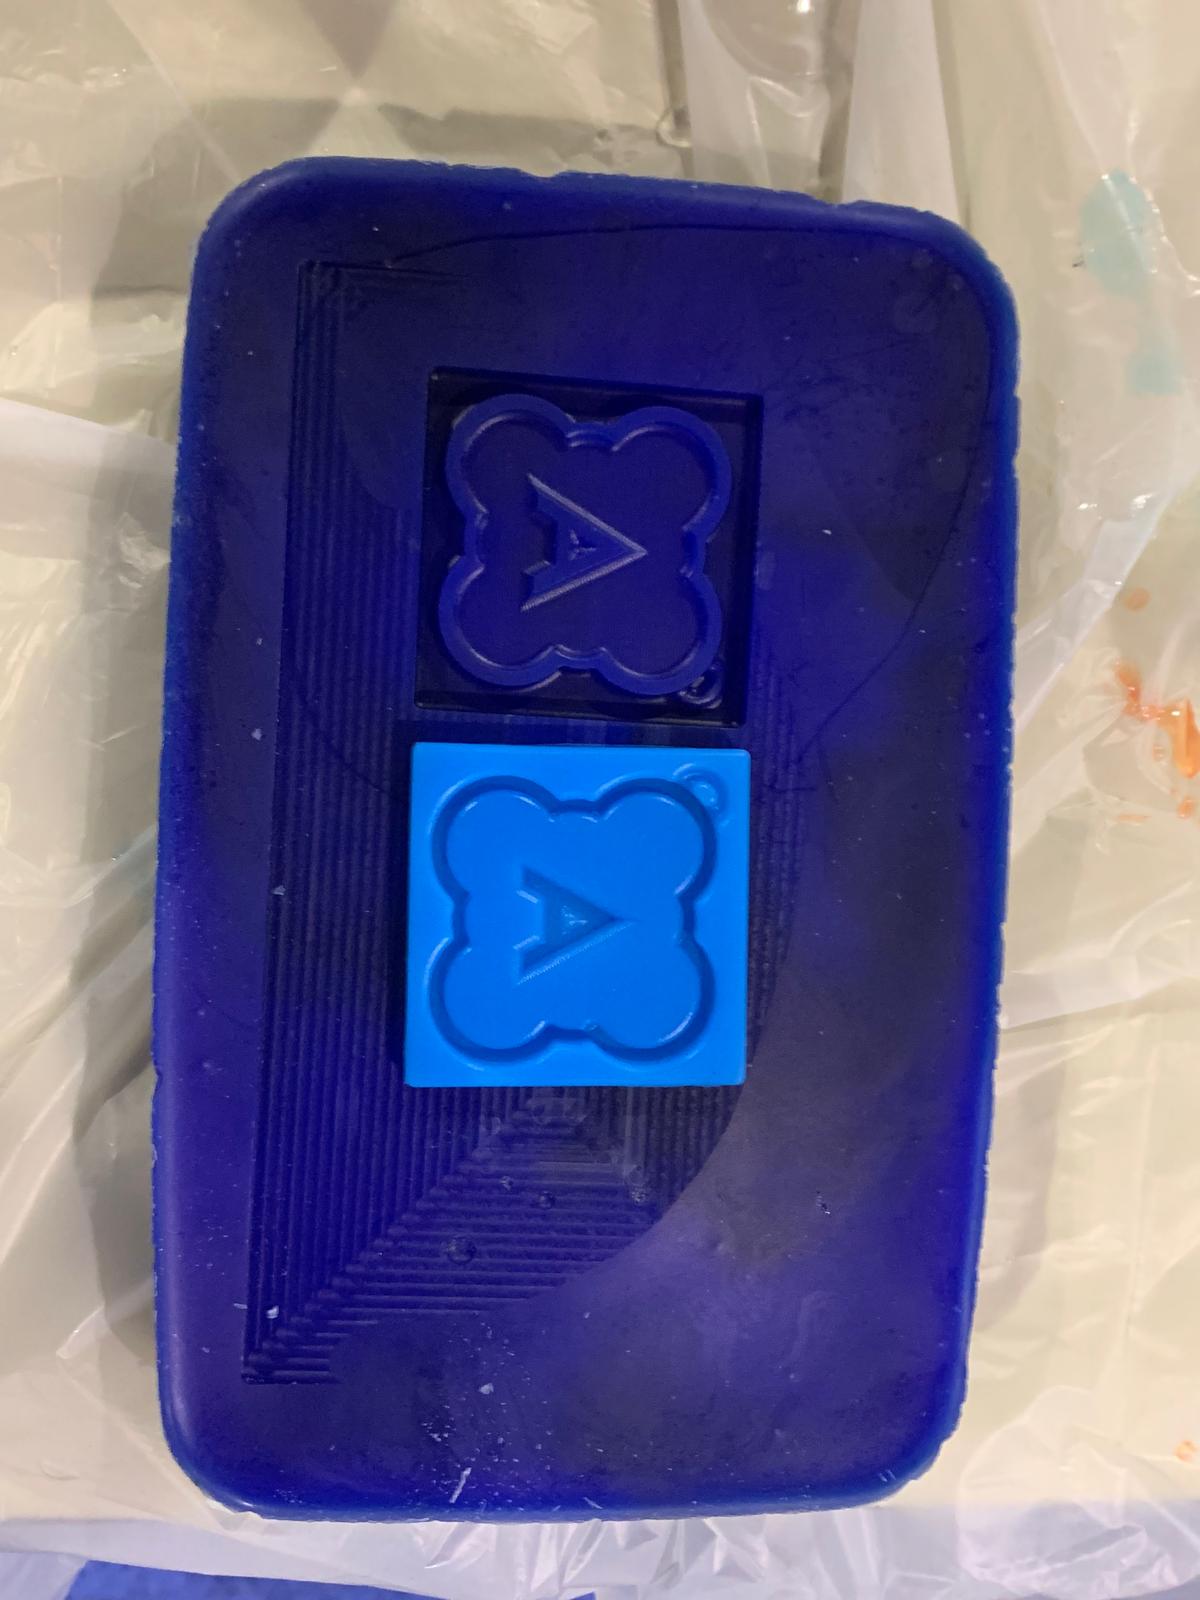
And this is my engraved design on the block of wax.
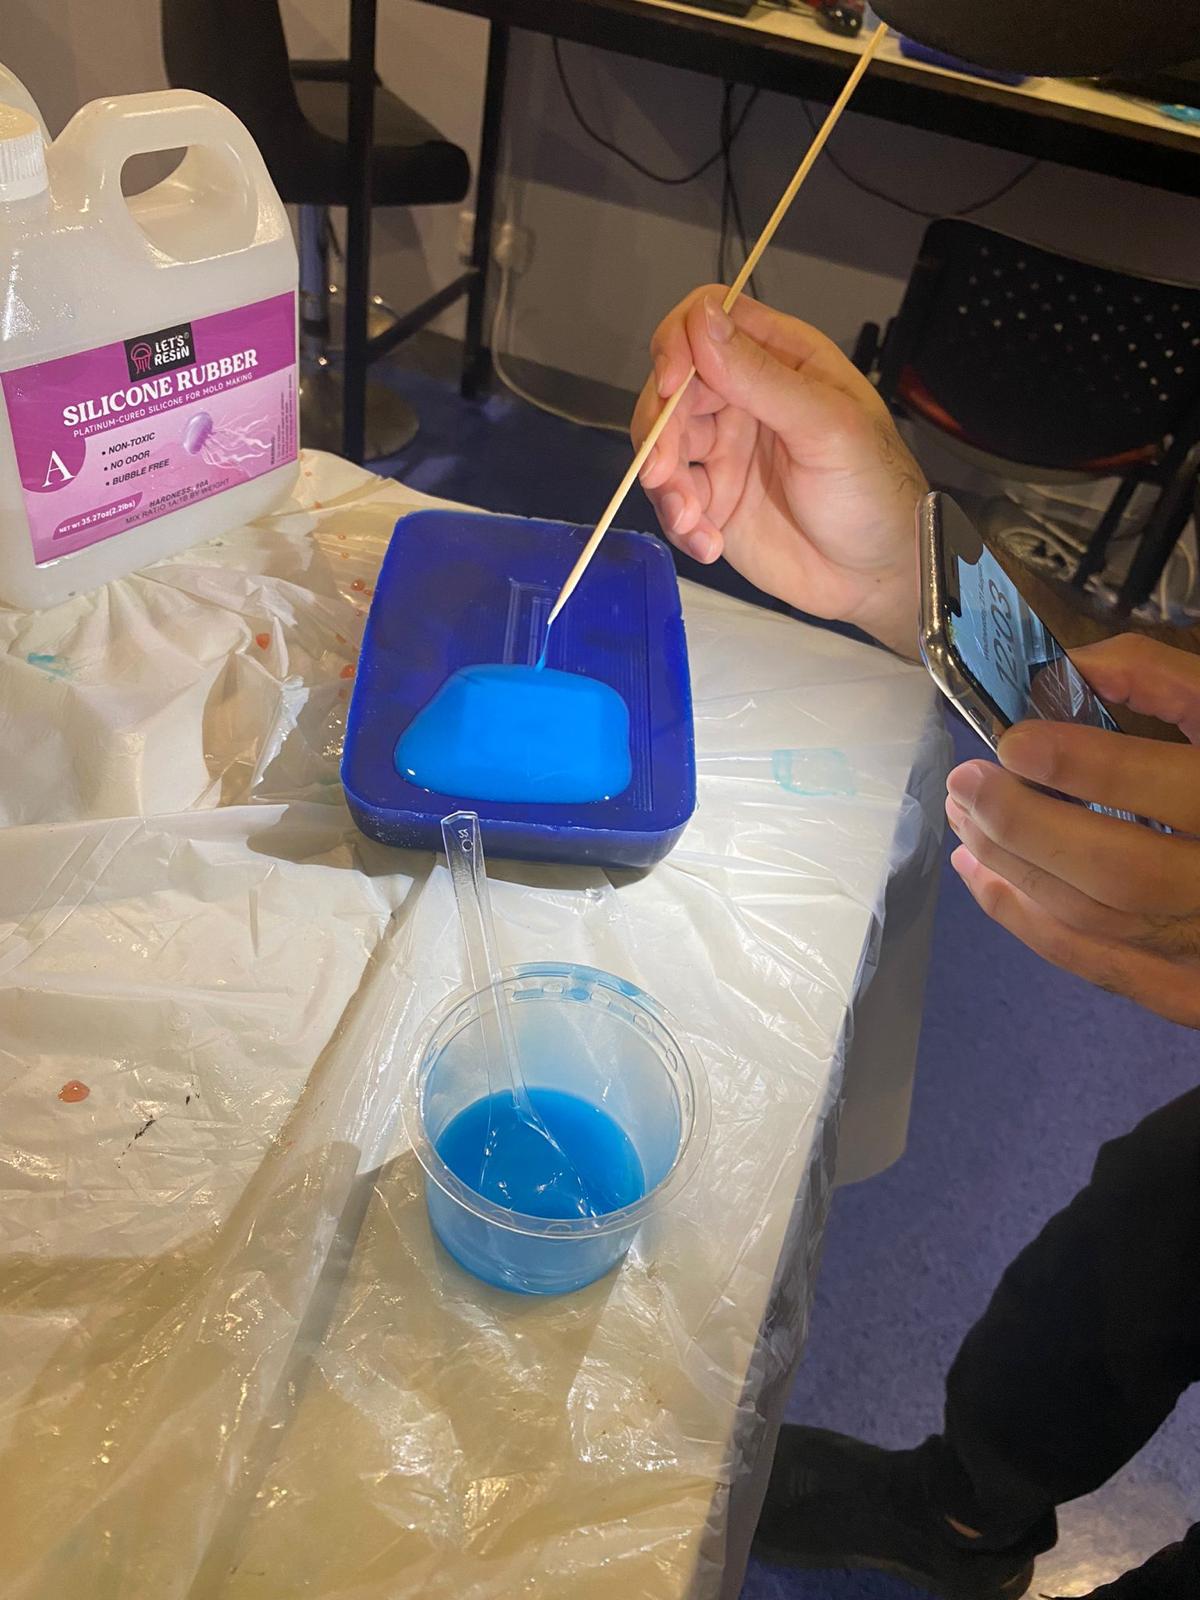
Procedure (Silicon mold)
- Step 1: I set up all the materials and tools I would be using, including the scale, gloves, plastic spoons, and plastic cups.
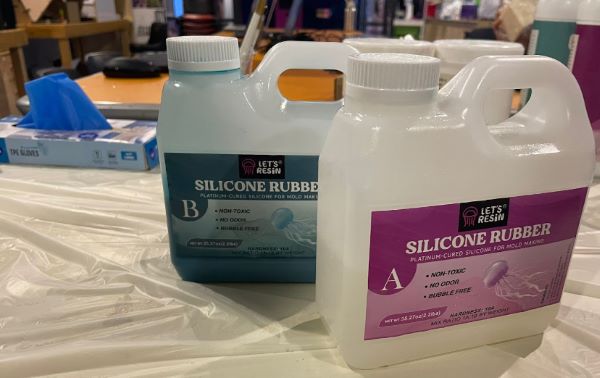
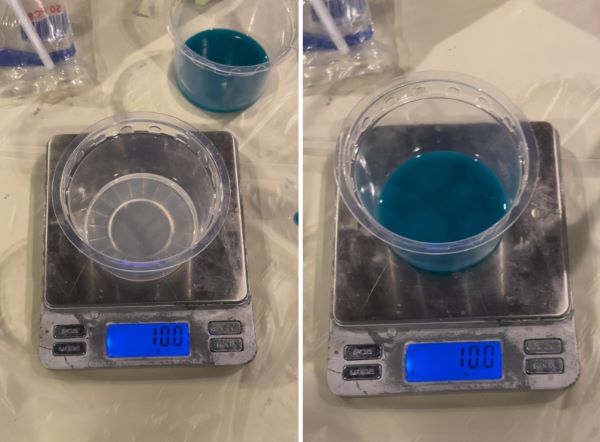
- Step 2: I placed a plactic cup and pressed the “clear” button on the scale, then I poured 10 grams of material A and start to mix it for 2 minutes, and then Repeating the same step for material B since the mixing ratio is (1 A : 1 B).
Note: To avoid affecting the ratios, mixing must take place in both containers.
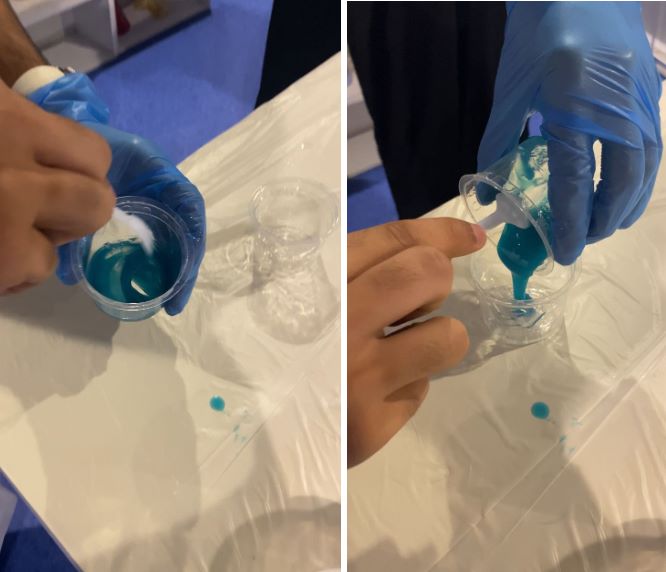
- Lastly, I poured the material into the wax block using a spoon and then waited 24 hours for it to cure at room temperature to create the silicone mold.
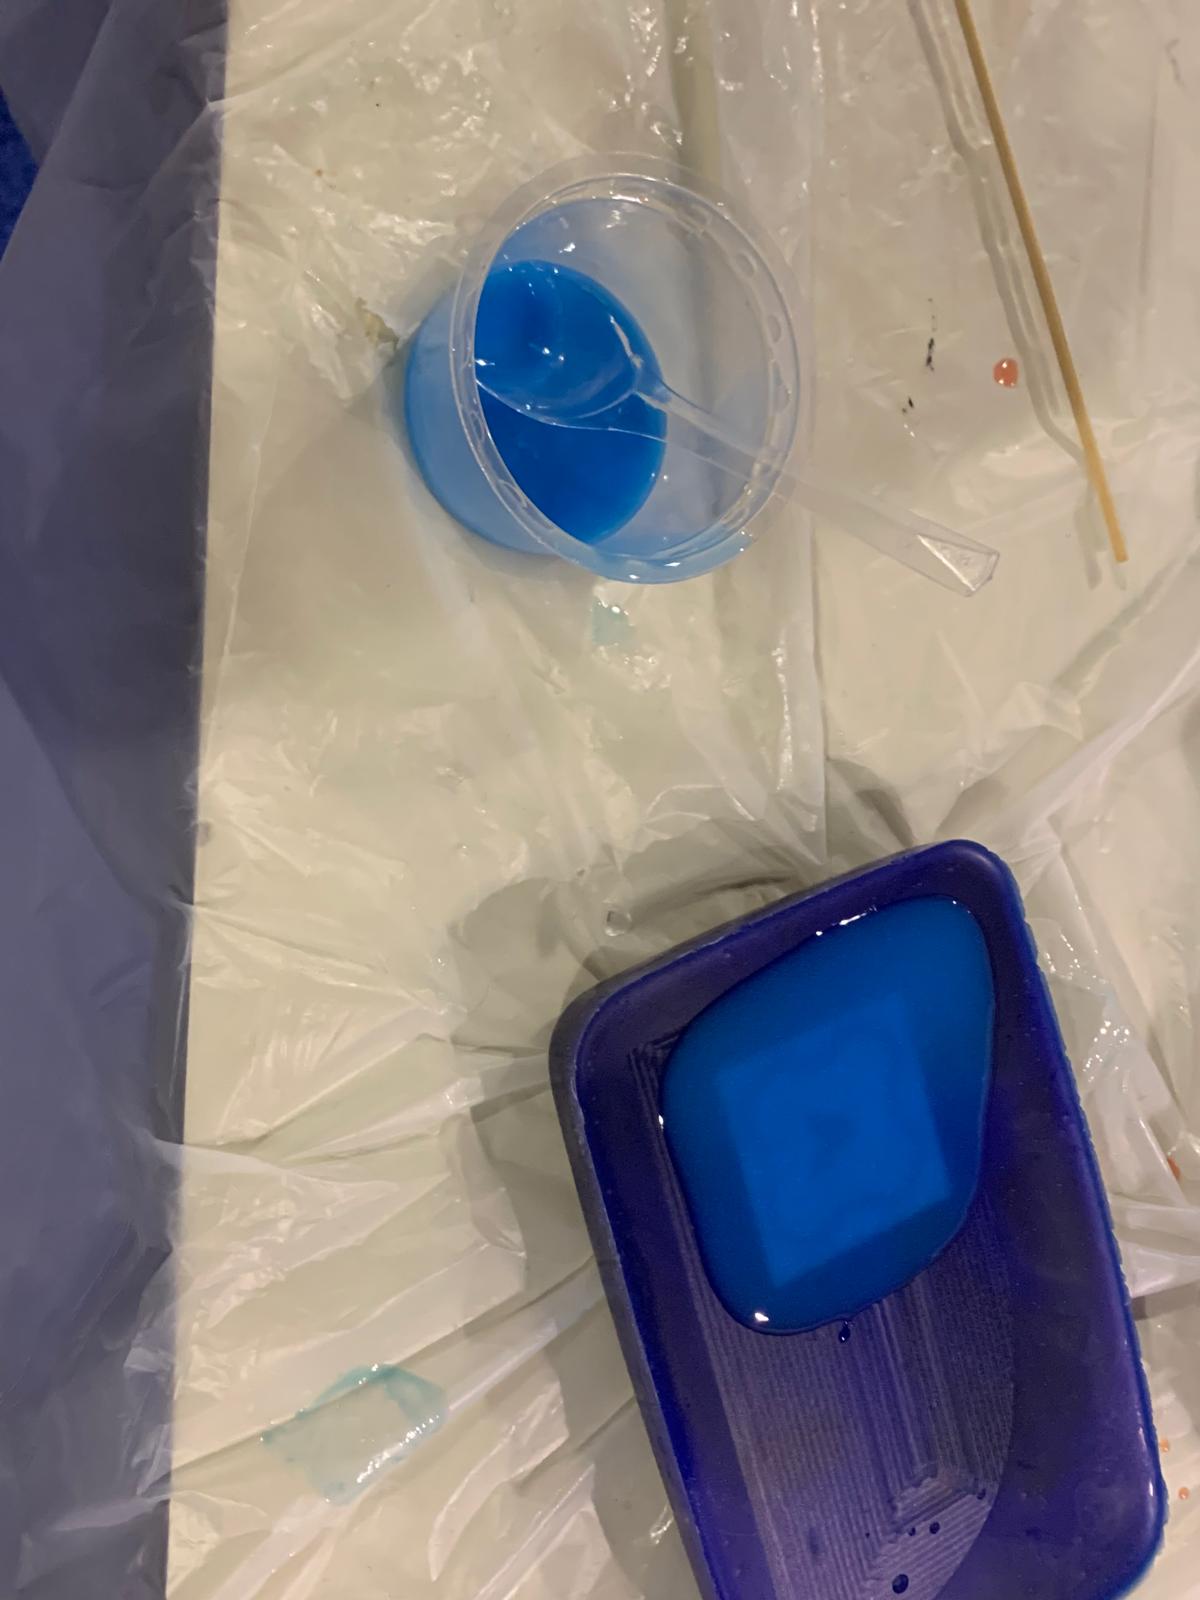
Note: You must eliminate all bubbles or vacuum voids that appear while pouring the material, as these are irreversible defects.
After waiting for 24 hours, I removed the mold from the wax block.
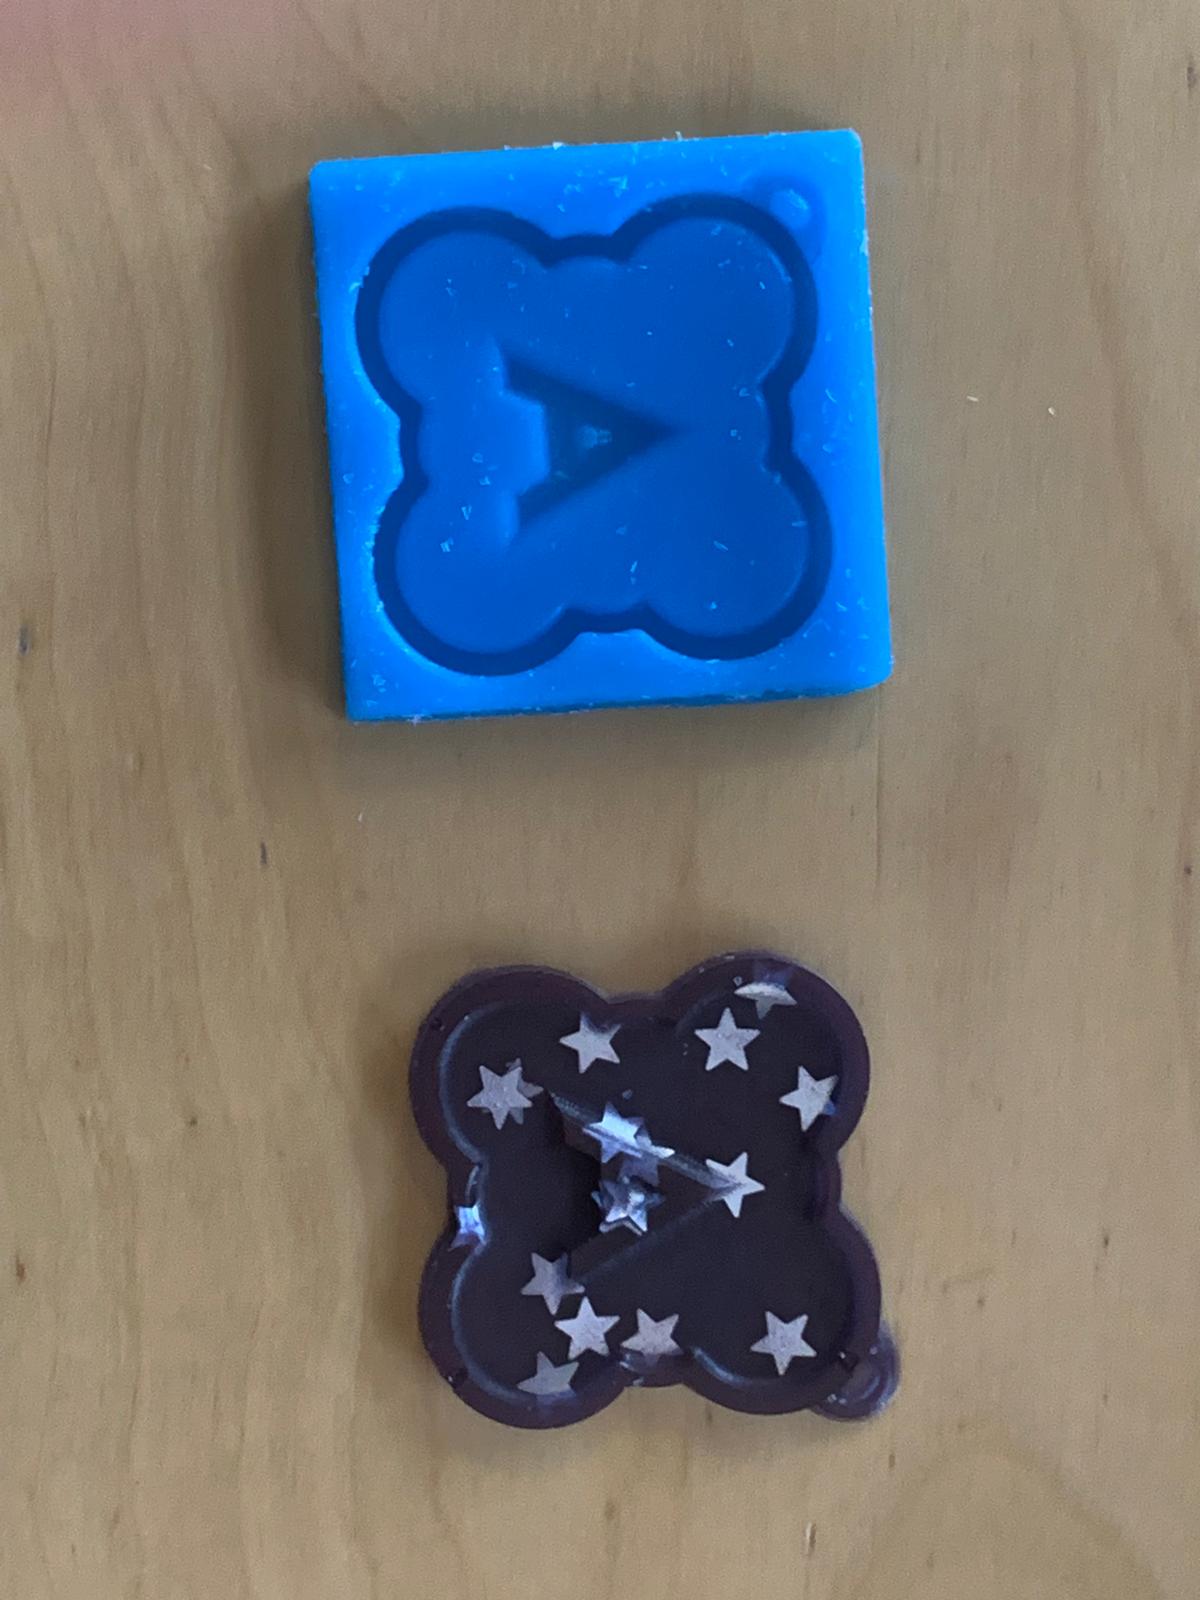
And here is how it looks like!
Procedure (casting)
- Step 1: I set up all the materials and tools I would be using, including the scale, gloves, plastic spoons, and plastic cups.
- Step 2: I placed the plastic cup on the scale and poured in 10 grams of resin, then mixed it for at least 2 minutes.
- Step 3: I repeated the same process for the hardener, pouring in 6 grams, as the mixing ratio for the material I was using is 10 grams of resin to 6 grams of hardener, as indicated on the bottle stickers. I then mixed the hardener for two minutes.
-
Step 4: After mixing each material separately for 2 minutes, I poured the resin into the hardener cup and mixed it for 2 minutes. Then, I poured the mixture back into the resin cup and mixed it for another 2 minutes.
-
Step 5: I added some color and stars to decorate the model, then mixed everything for an additional 2 minutes.
-
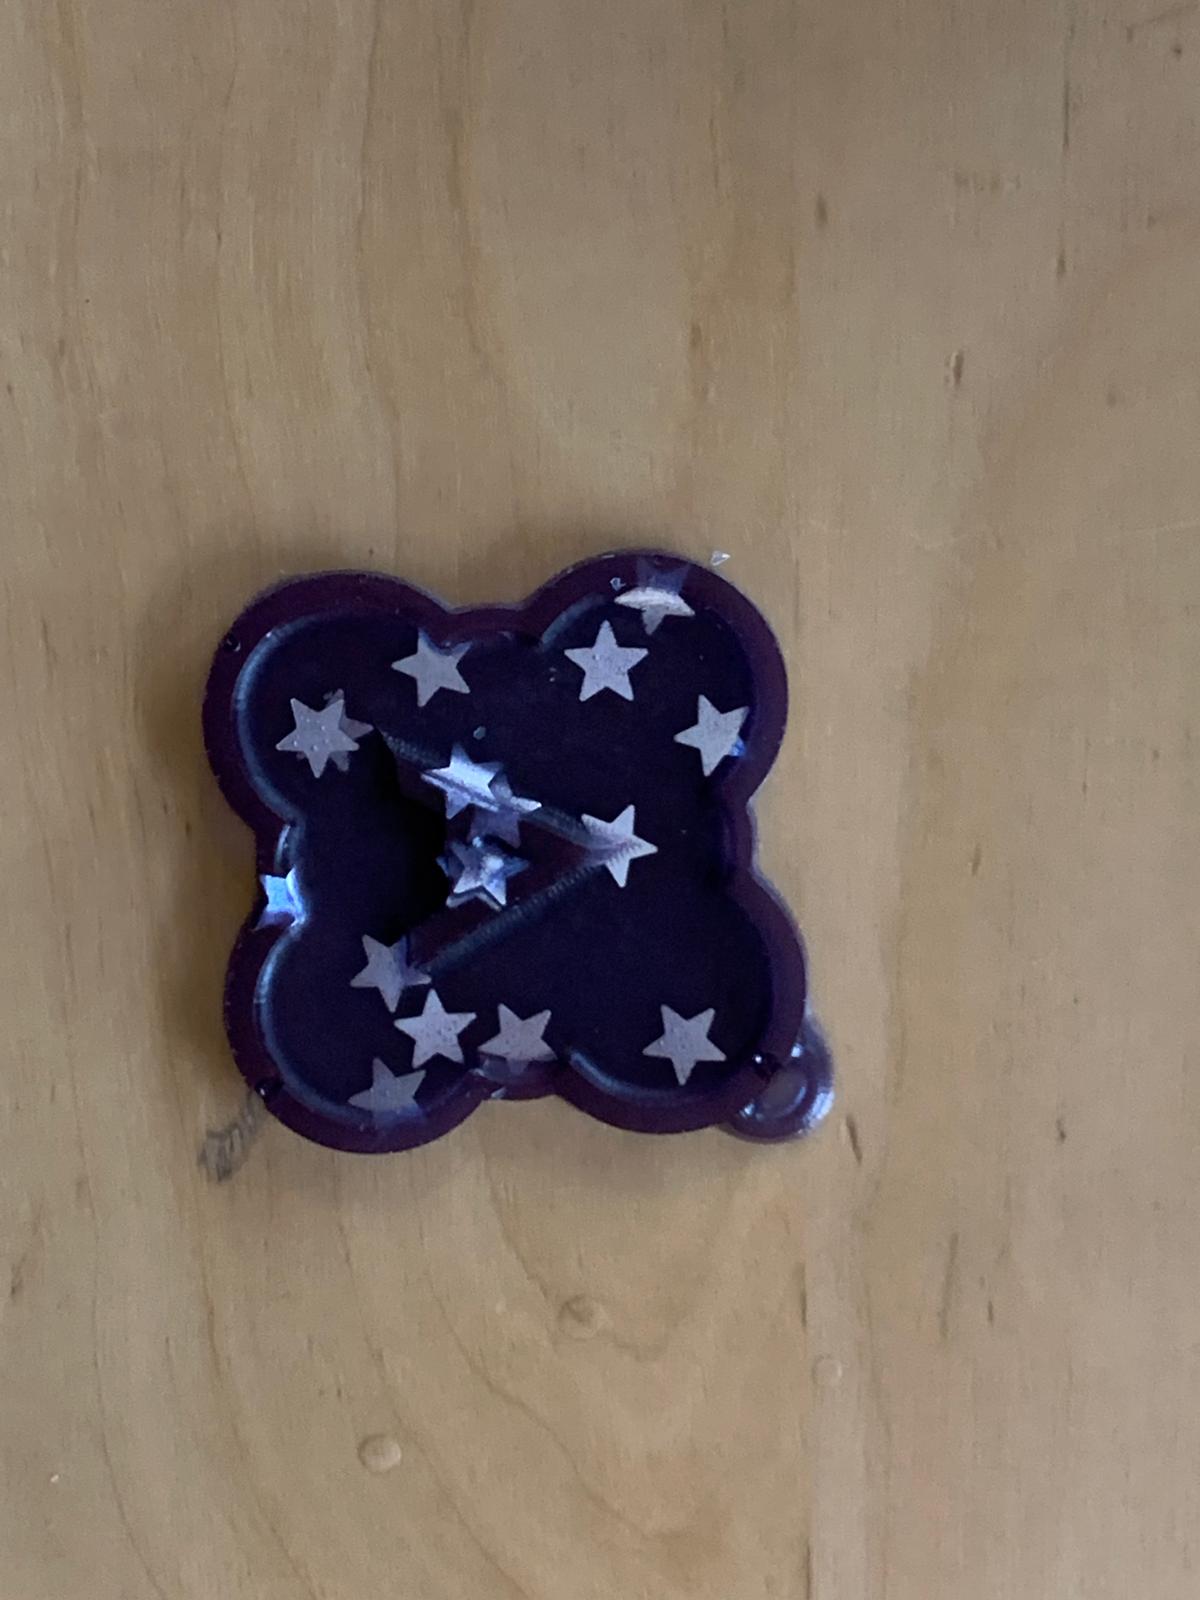
Finally, I poured the hardener and resin mixture into the mold to create the keychain, and I had to wait 24 hours for it to fully cure at room temperature.
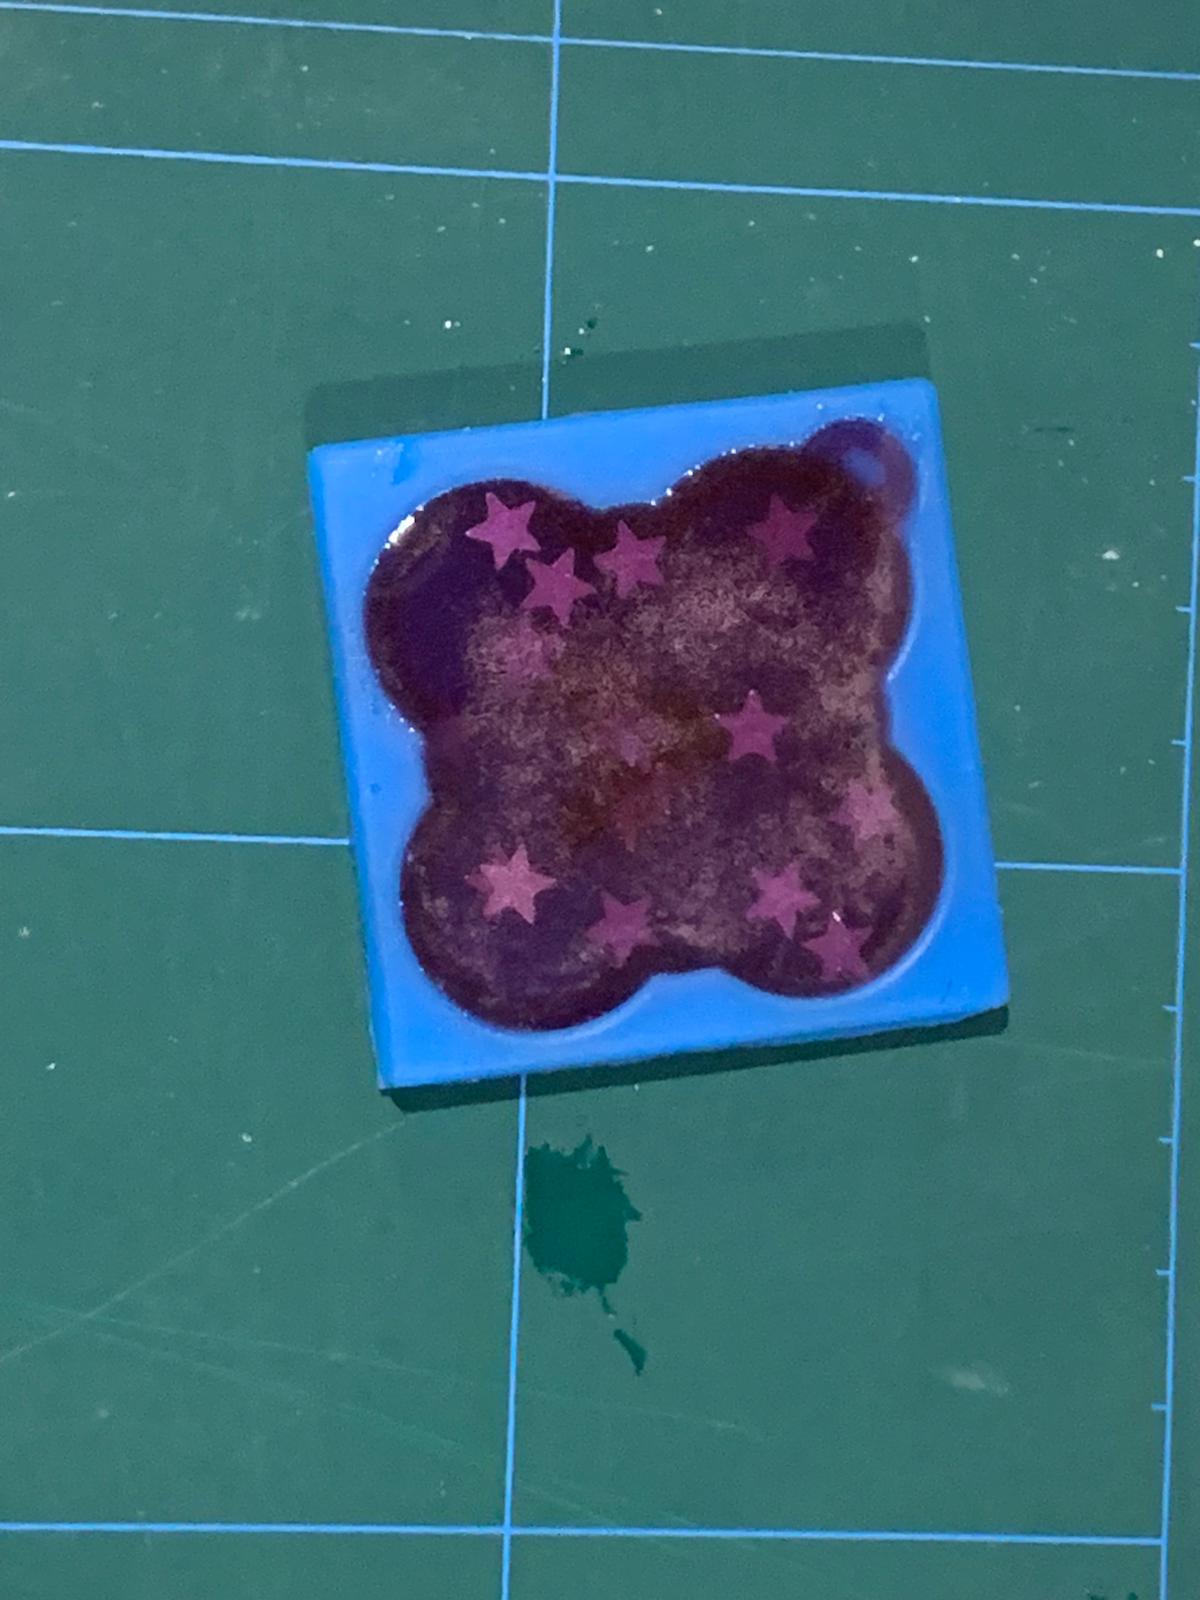
And here is the final results.