4. Embedded programming
What is Embedded programming in microcontrollers?
Embedded programming in microcontrollers involves creating software that runs on microcontroller units (MCUs), which are compact chips designed to manage specific tasks in embedded systems. Here are the main points:
Definition: Microcontrollers are small computers integrated onto a single chip that includes a processor, memory, and input/output peripherals, making them suitable for device control.
Programming Languages: Common languages for microcontroller programming include C and C++, with assembly language used for performance-critical tasks. Some microcontrollers also support higher-level languages like Python or JavaScript in specific environments.
Development Environment: Developers typically use integrated development environments (IDEs) that offer tools for writing, compiling, and debugging code, such as Arduino IDE, MPLAB, and Keil.
Real-Time Operations: Many applications require real-time processing, meaning the microcontroller must respond to inputs or events within a specific timeframe.
Hardware Interaction: Embedded programming involves direct communication with hardware components like sensors, actuators, and communication interfaces (e.g., I2C, SPI, UART).
Applications: Microcontrollers are found in various devices, including home appliances, automotive systems, robotics, medical devices, and IoT applications.
Resource Constraints: Programming for microcontrollers often requires careful management of limited resources like memory and processing power to ensure efficiency and reliability.
In summary, embedded programming in microcontrollers is vital for developing software that controls a wide range of devices and systems, ensuring they function effectively and efficiently.
Group assignment
Research
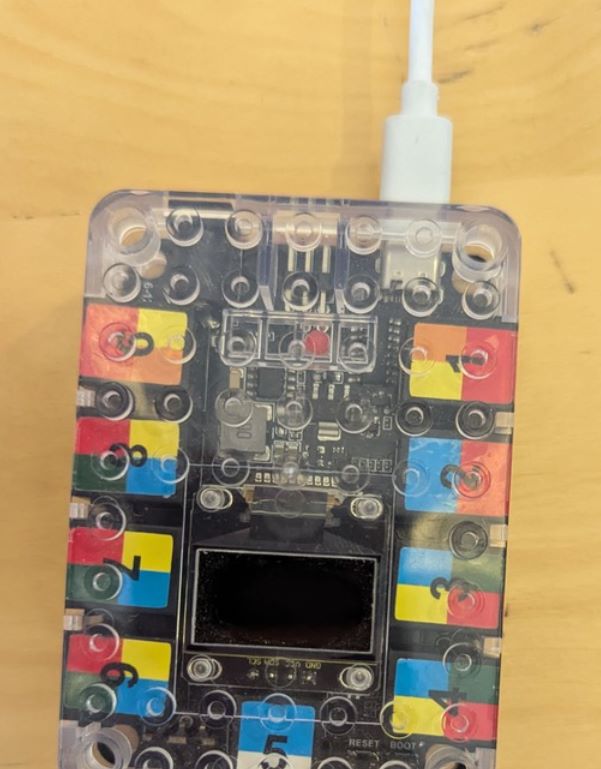
Simple research about a microcontroller (ESP32)

Individual assignment
Task I
Programming a microcontroller using Arduino Uno
I was asked to change the blinking speed of a microcontroller (Arduino Uno)
Procedure
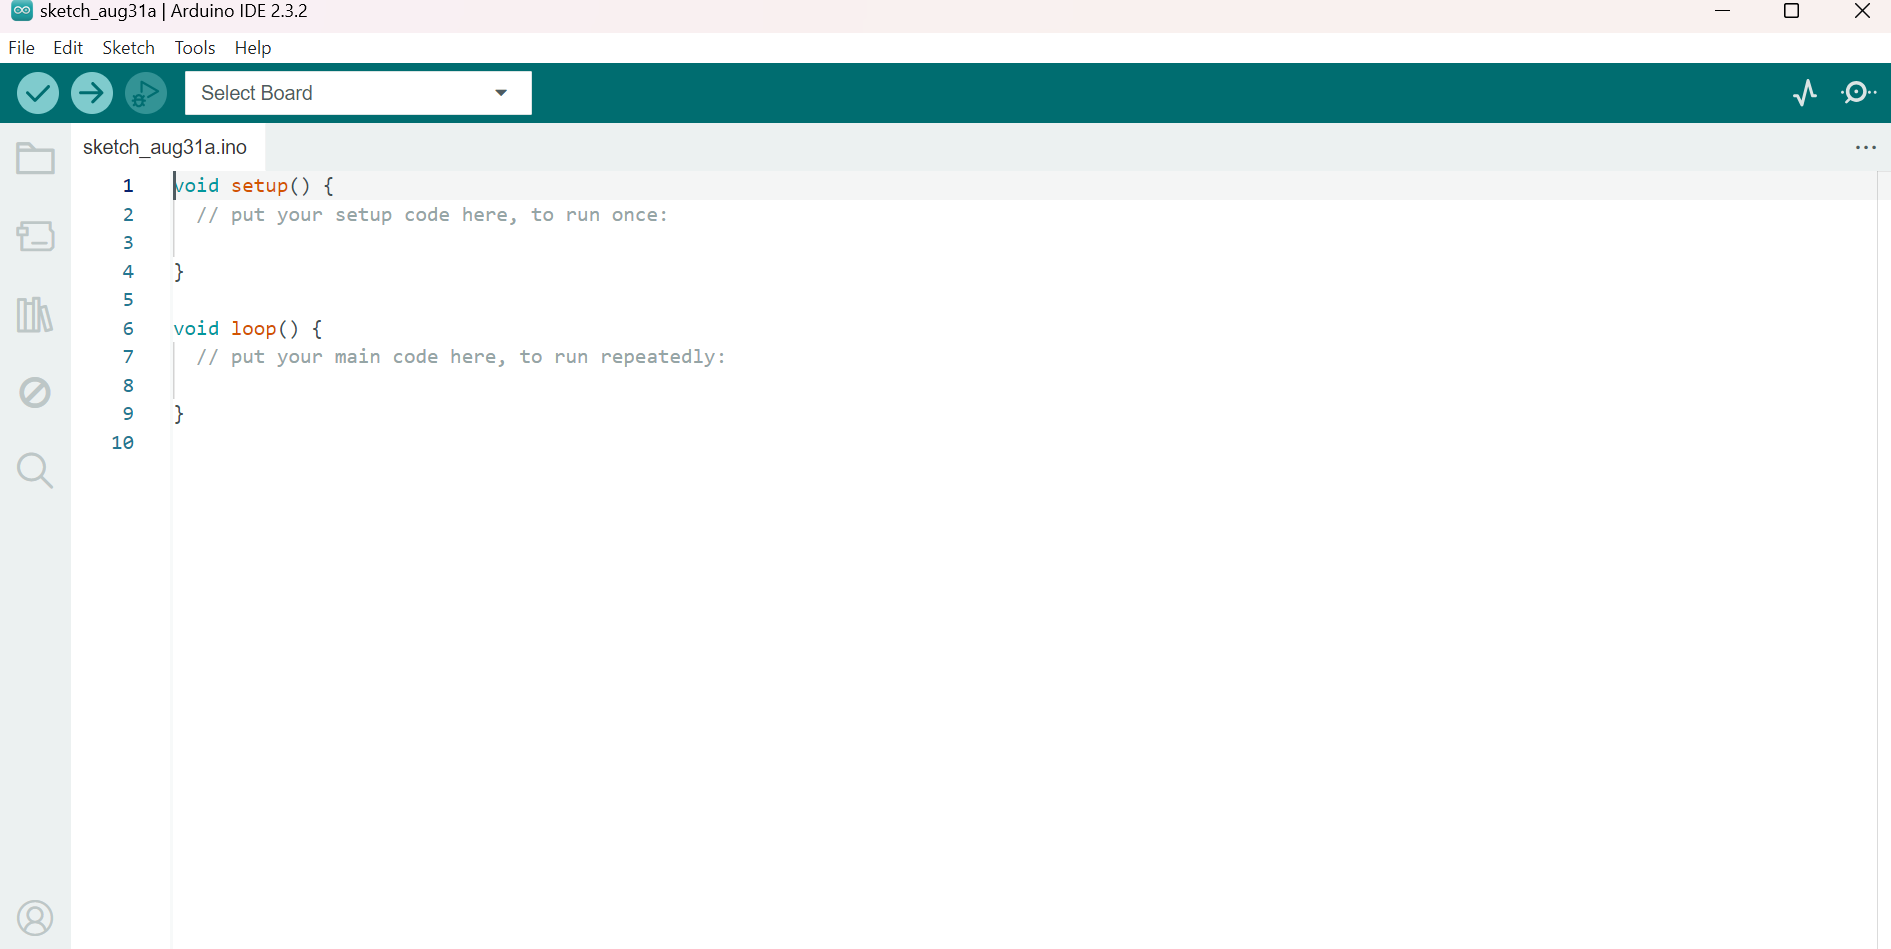
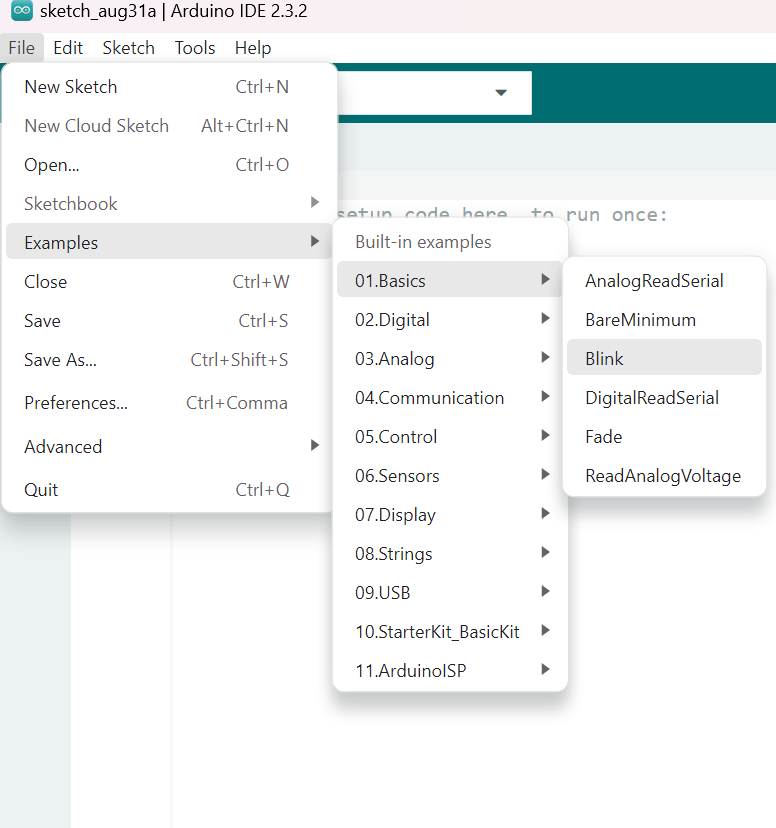
- Step 1: I downloaded the Arduino IDE and launched it.
This page will appear when you open the app.
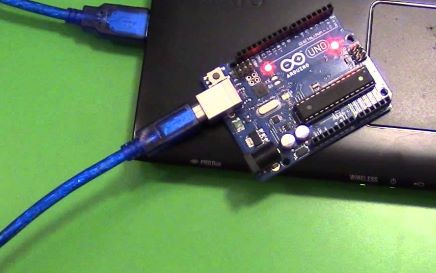
- Step 2: Connect the microcontroller using a USB to COM3 cable.
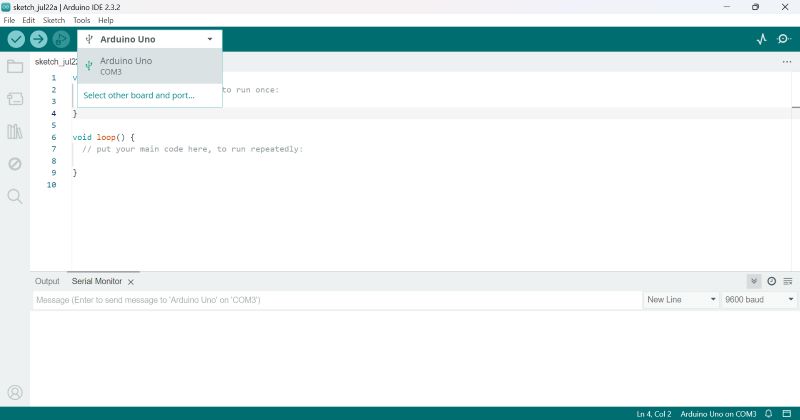
- Step 3: Select the microcontroller from the menu bar at the top.
- Step 4: Click on “File” in the top menu, then go to “Examples,” followed by “Basics,” and select “Blink.”
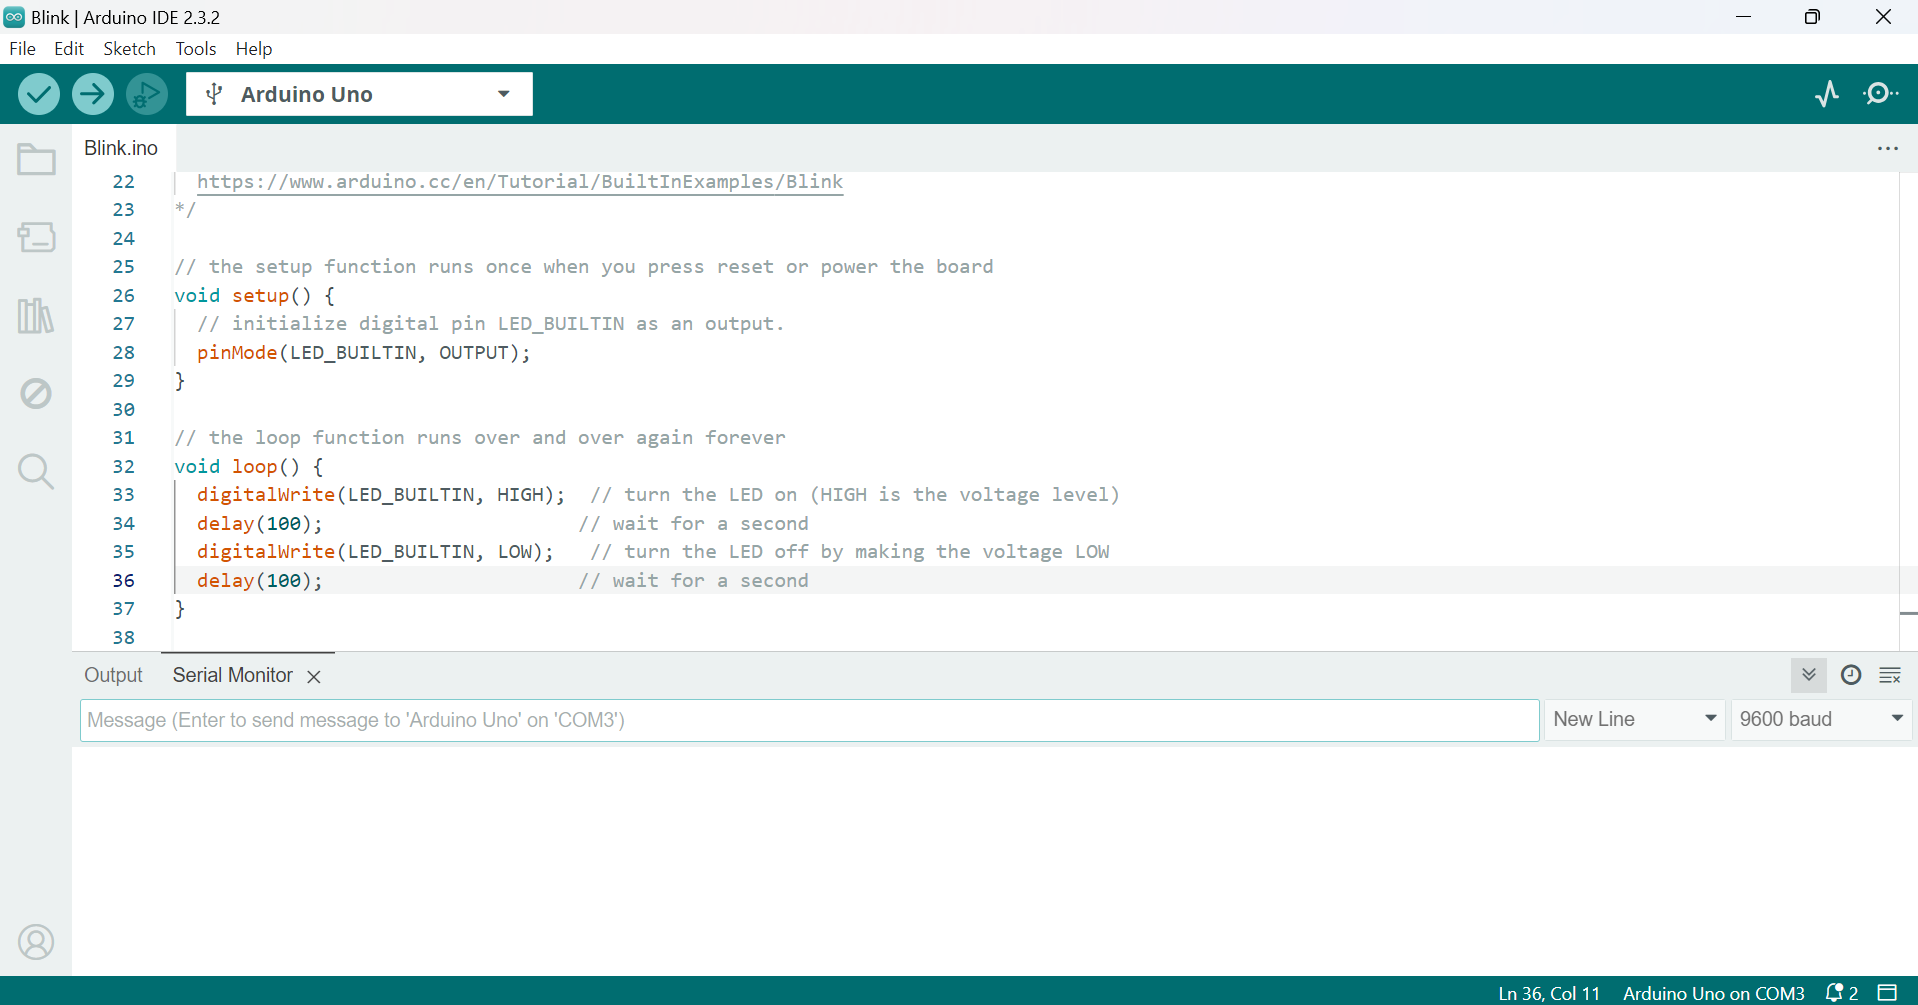
- Lastly, Changing the speed of the light from default settings to 100 milsecond.
This is the code I wrote to change the blinking speed
// Define the LED pin const int ledPin = 13; // Pin where the LED is connected
void setup() { pinMode(ledPin, OUTPUT); // Set the LED pin as an output }
void loop() { digitalWrite(ledPin, HIGH); // Turn the LED on delay(100); // Wait for 100 milliseconds digitalWrite(ledPin, LOW); // Turn the LED off delay(100); // Wait for 100 milliseconds }
Here are two videos demonstrating blinking at different rates.
At 500 milliseconds
At 100 milliseconds
Group assignment
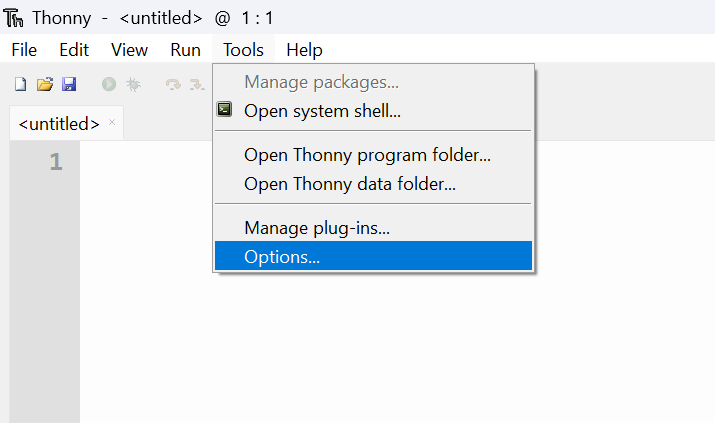
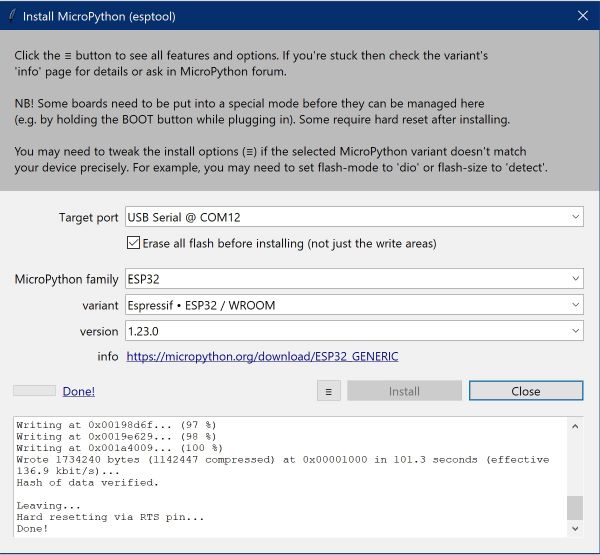
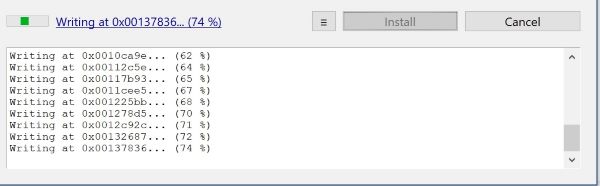
- step 1: I downloaded Thonny and launched it.

- Step 2: Connect the microcontroller (ESP32) to your laptop using a USB to Type-C cable.
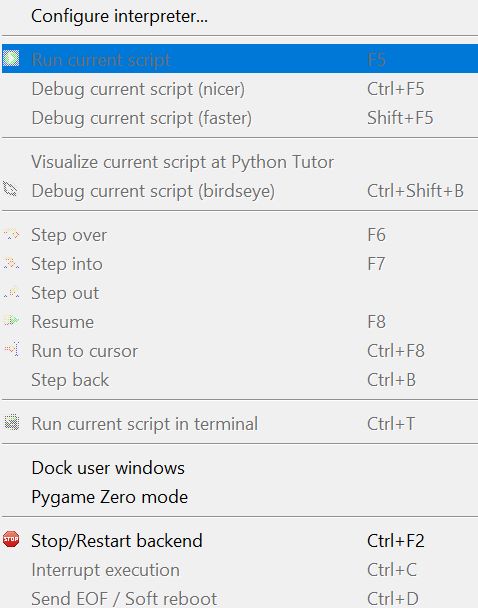
- Step 3: Set up Thonny by first clicking on “Tools,” then selecting “Options,” and choosing “Interpreter.” Follow the instructions shown in the images to configure Thonny for the microcontroller (ESP32).


Individual assignment
Task II
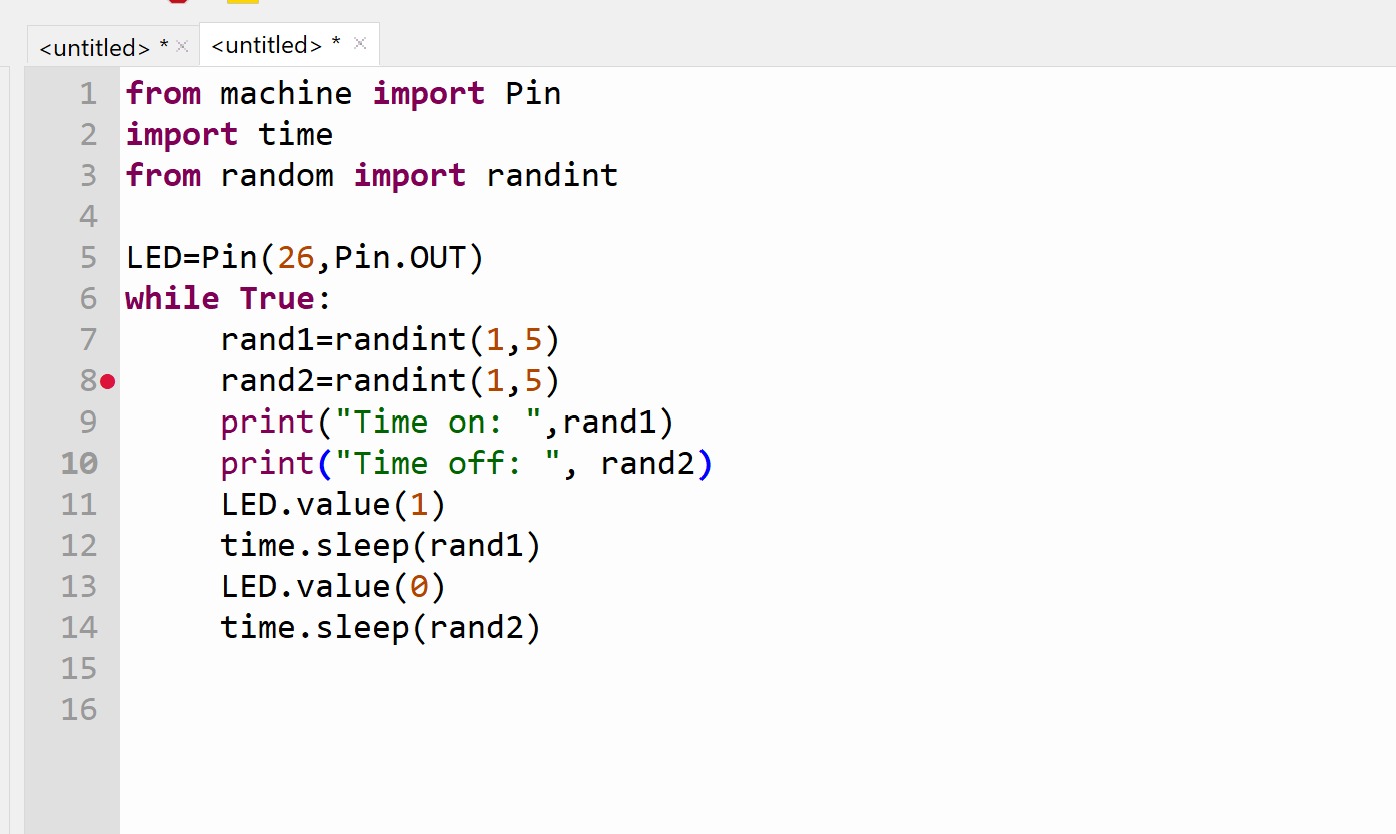
We were presented with three challenges, and I decided to tackle the second one.
Easy mode: Blink your led but have your blink delay periods be randomized values between 1 second and 5 seconds.
Medium mode: pre code your microcontroller to send a Morse code 1 word message and challenge a friend, family member, your colleagues or your instructor to figure it out. (Refer to the schedule).
Hard mode: you select the duration of the light being on and off while the program is running by entering it in the serial monitor. Write a code that takes the data from the serial monitor and delays by that amount of time.
This is the schedule I used to approach the challenge.
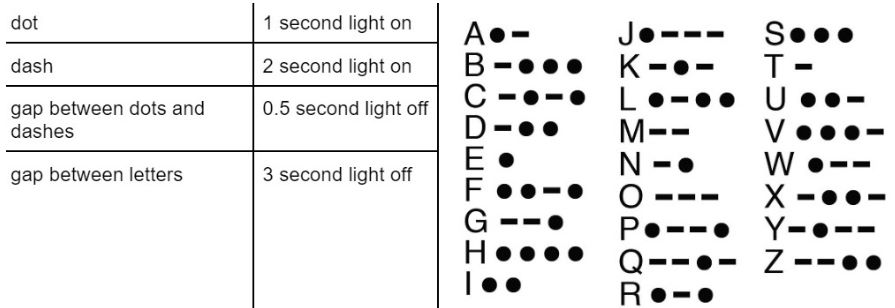
“I created the code to tackle the second challenge, and I chose the word ‘FOOT’.”
Writing the code using Arduino IDE
void setup() { pinMode(LED_BUILTIN, OUTPUT); }
void loop() { int dot = 1000; int dash = 2000; int gap = 500; int let = 3000; int endWord = 5000;
// Letter F (..-.) blinkMorse(dot, dash, gap, let); blinkMorse(dot, dash, gap, let);
// Letter O (—) blinkMorse(dash, dash, gap, let); blinkMorse(dash, dash, gap, let); blinkMorse(dash, dash, gap, let);
// Letter O (—) blinkMorse(dash, dash, gap, let); blinkMorse(dash, dash, gap, let); blinkMorse(dash, dash, gap, let);
// Letter T (-) blinkMorse(dash, dot, gap, endWord); }
void blinkMorse(int primary, int secondary, int gap, int pause) {
digitalWrite(LED_BUILTIN, HIGH);
delay(primary);
digitalWrite(LED_BUILTIN, LOW);
delay(gap);
digitalWrite(LED_BUILTIN, HIGH);
delay(secondary);
digitalWrite(LED_BUILTIN, LOW);
delay(pause);
}
After writing the code, I clicked on the “Run” option to execute it.

Writing the code using Thonny (MicroPython)
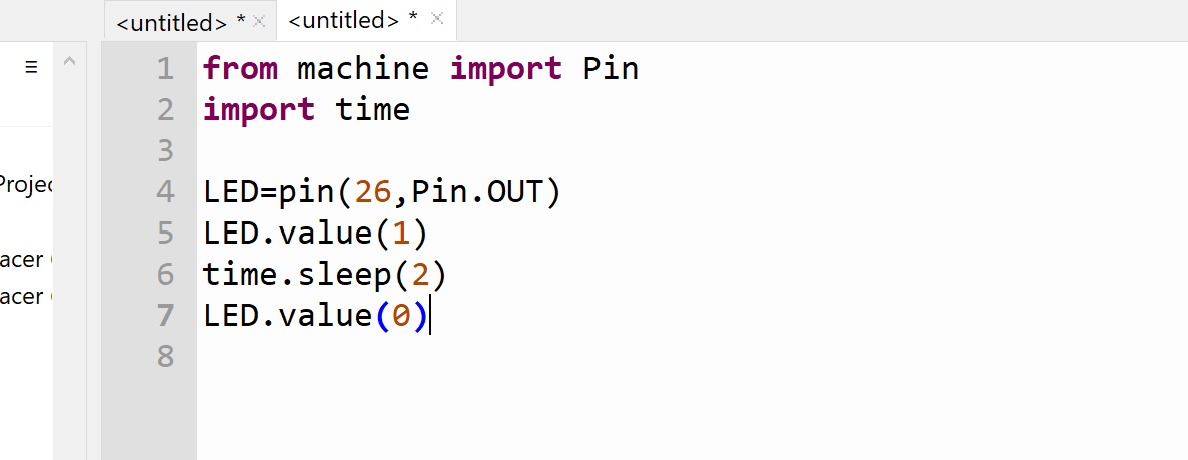
from machine import Pin import time
led = Pin(2, Pin.OUT) # Change to the appropriate pin
def blink_morse(primary, secondary, gap, pause):
led.on()
time.sleep(primary)
led.off()
time.sleep(gap)
led.on()
time.sleep(secondary)
led.off()
time.sleep(pause)
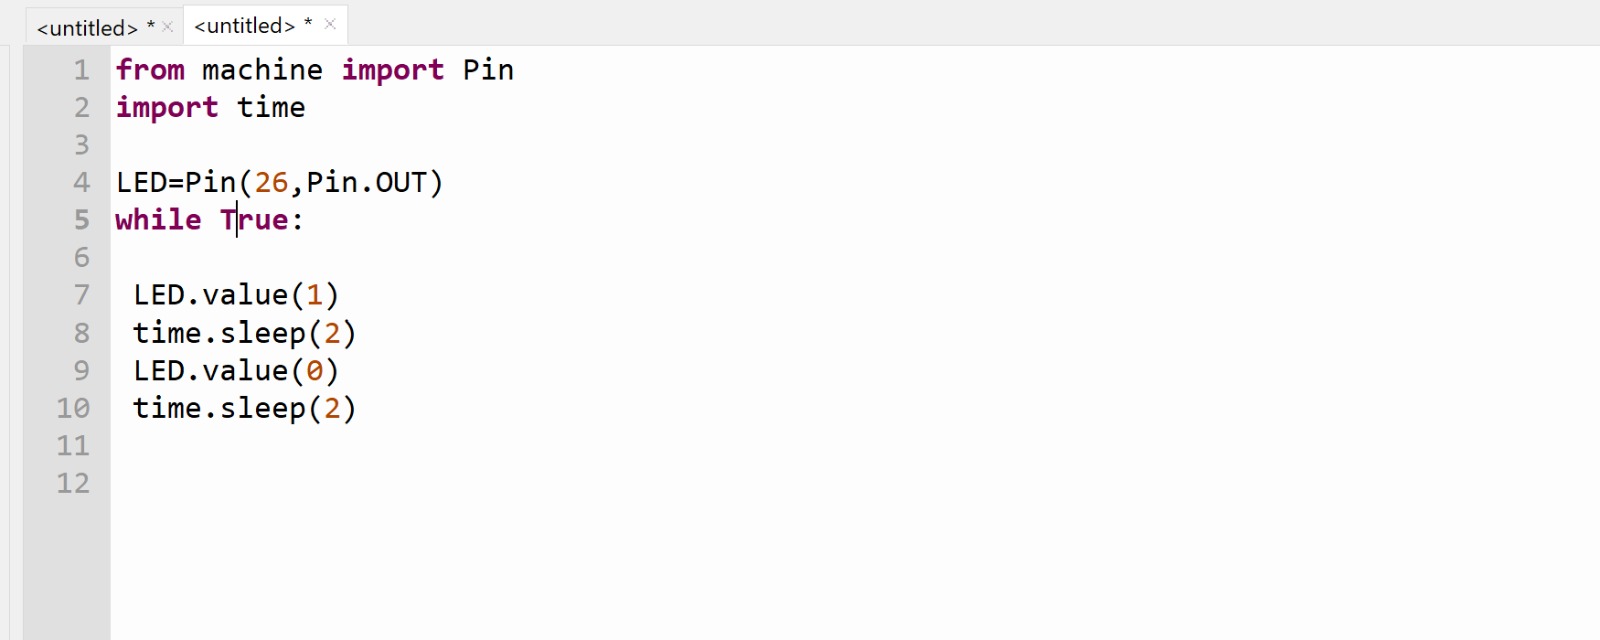
while True:
dot = 1
dash = 2
gap = 0.5
let = 3
end_word = 5
# Letter F (..-.)
blink_morse(dot, dash, gap, let)
blink_morse(dot, dash, gap, let)

# Letter O (---)
blink_morse(dash, dash, gap, let)
blink_morse(dash, dash, gap, let)
blink_morse(dash, dash, gap, let)

# Letter O (---)
blink_morse(dash, dash, gap, let)
blink_morse(dash, dash, gap, let)
blink_morse(dash, dash, gap, let)

# Letter T (-)
blink_morse(dash, dot, gap, end_word)
I tapped “Run” to execute the code.
Here’s a brief video demonstrating that the programming code is functioning correctly.
Note: In Thonny (and Python in general), the “while True” command creates an infinite loop. This means that the code within the loop will continue to execute repeatedly until the program is manually stopped or interrupted.
Comparison of Thonny and Arduino IDE
Thonny
Overview: Thonny is a beginner-friendly Python IDE designed for learning programming and experimenting with Python code. It is particularly popular for programming microcontrollers that support Python, such as MicroPython.
Languages: Primarily uses Python, specifically MicroPython, which is a lightweight version tailored for microcontrollers.
Microcontroller Support:
ESP8266/ESP32: Frequently used for IoT projects.
Raspberry Pi Pico: A common choice for learning and prototyping.
Other Microcontrollers: Many boards that support MicroPython.
Arduino IDE
Overview: The Arduino IDE is a widely used platform for programming Arduino boards and other compatible microcontrollers. It offers a simple interface for writing and uploading code.
Languages: Primarily utilizes C and C++, with a simplified syntax designed for ease of use in embedded programming.
Microcontroller Support:
Arduino Boards: Such as Arduino Uno, Mega, and Nano.
ESP8266/ESP32: These boards can also be programmed using the Arduino IDE.
Other Compatible Boards: Many third-party boards that support the Arduino framework.
Key Differences
Language: Thonny focuses on Python (MicroPython), while the Arduino IDE utilizes C/C++.
Target Audience: Thonny is geared towards beginners learning Python, whereas the Arduino IDE caters to both beginners and more experienced developers in embedded systems.
Application: Thonny is excellent for rapid prototyping with Python projects, while the Arduino IDE is suited for applications requiring lower-level hardware control and efficiency.
Summary
Thonny: Best for Python enthusiasts and projects using MicroPython on compatible microcontrollers.
Arduino IDE: Ideal for C/C++ developers and a broad range of Arduino-compatible microcontrollers. Both IDEs can support microcontrollers like the ESP8266 and ESP32, but they differ in programming languages and target audiences.
Learning about microcontrollers was completely new to me, but it was a fascinating experience, especially discovering their ability to perform various tasks through programming. It’s remarkable to realize that nearly every electronic device is controlled by one of these microcontrollers.