3. Computer controlled cutting
This week, I worked with two interesting machines: the Silhouette Cameo and the laser cutting machine. By using these machines along with other applications like Autodesk Fusion, I was able to create some amazing projects.
Individual assignment
What is vinyl cutting?
Vinyl cutting is a process used to create designs and graphics from vinyl materials using a specialized machine known as a vinyl cutter. Here’s a breakdown of how it works:
How It Works?
Design Creation: Users create a design using graphic design software like Silhouette Studio or Adobe Illustrator.
Vinyl Cutter Setup: The design is sent to the vinyl cutter, which functions like a printer but cuts vinyl with a sharp blade instead of applying ink.
Material Loading: A sheet or roll of vinyl is placed on a cutting mat and loaded into the machine.
Cutting Process: The cutter follows the outline of the design, cutting through the vinyl while leaving the backing intact.
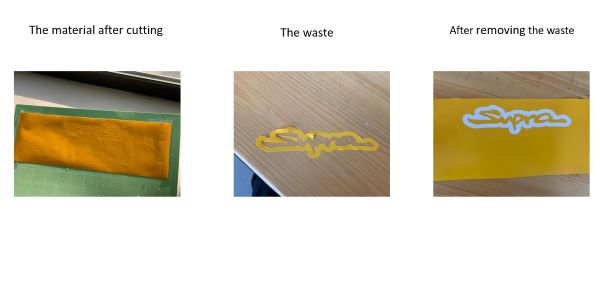
Weeding: After cutting, excess vinyl (waste) is removed, leaving only the desired design on the backing.
Application: The design can be transferred to various surfaces using transfer tape, making it ideal for signs, decals, apparel, and more.
Applications
Vinyl cutting is commonly used for:
-
Custom decals and stickers
-
Signage
-
Apparel decoration (like T-shirts)
-
Craft projects
-
Vehicle graphics
Benefits
Precision: Enables intricate designs and details.
Versatility: Compatible with various types of vinyl, including glossy, matte, and heat transfer options.
Cost-Effective: Allows for small production runs and custom creations without the need for expensive printing methods.
Vinyl Cutting
I worked on creating my own design using glossy vinyl with the Silhouette Studio app, where the vinyl cutter functions as both a cutter and a printer simultaneously.
-
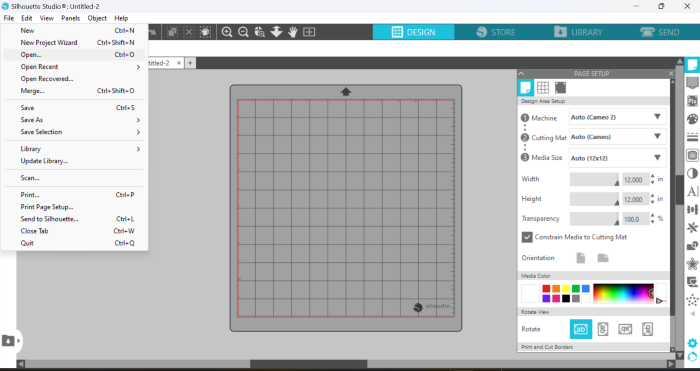
Step 1: I downloaded the app using Google search and then ran it.
-
Step 2: I uploaded the image that I wanted to work on.
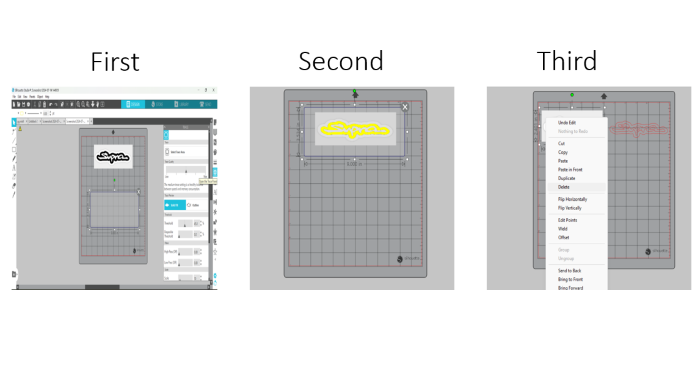
- Step 3: I tapped on the Trace option to select which parts of the material would be printed and which would be wasted. Then, I dragged the traced portion of the original image and deleted the original image.
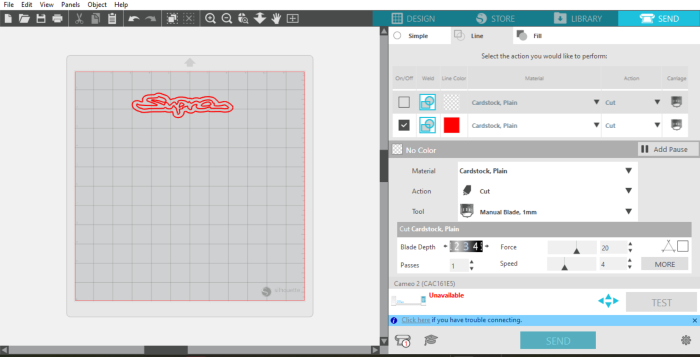
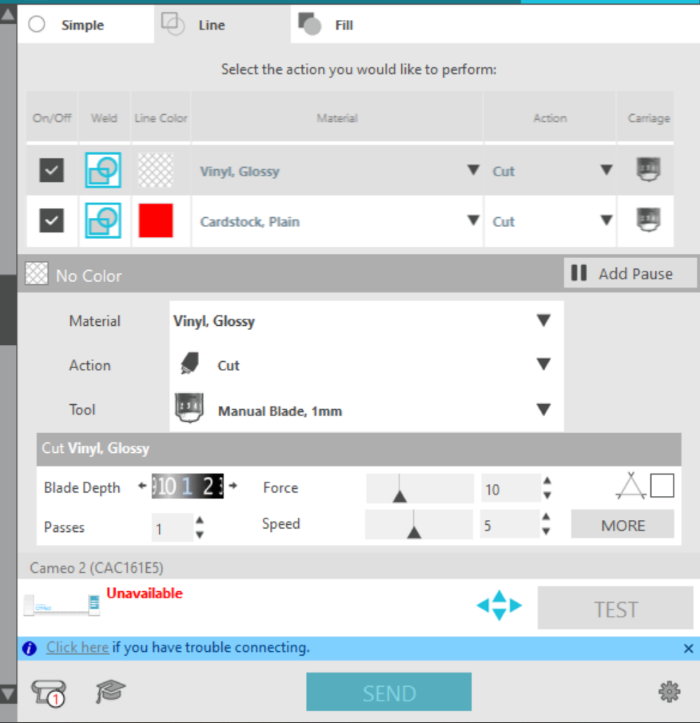
- Step 4: I tapped on the Send Selection option from the bar at the top and then edited the settings, including the material type, blade depth, blade speed, and force.
- Step 5: I placed the glossy vinyl on the mat, then inserted it into the vinyl cutter, ensuring it was in a stable position and secured to prevent any unwanted movement during cutting.
- Step 6: I connected my laptop to the Silhouette Cameo 2 (vinyl cutter) using a USB cable, then tapped on the Load Cut Mat option on the machine.
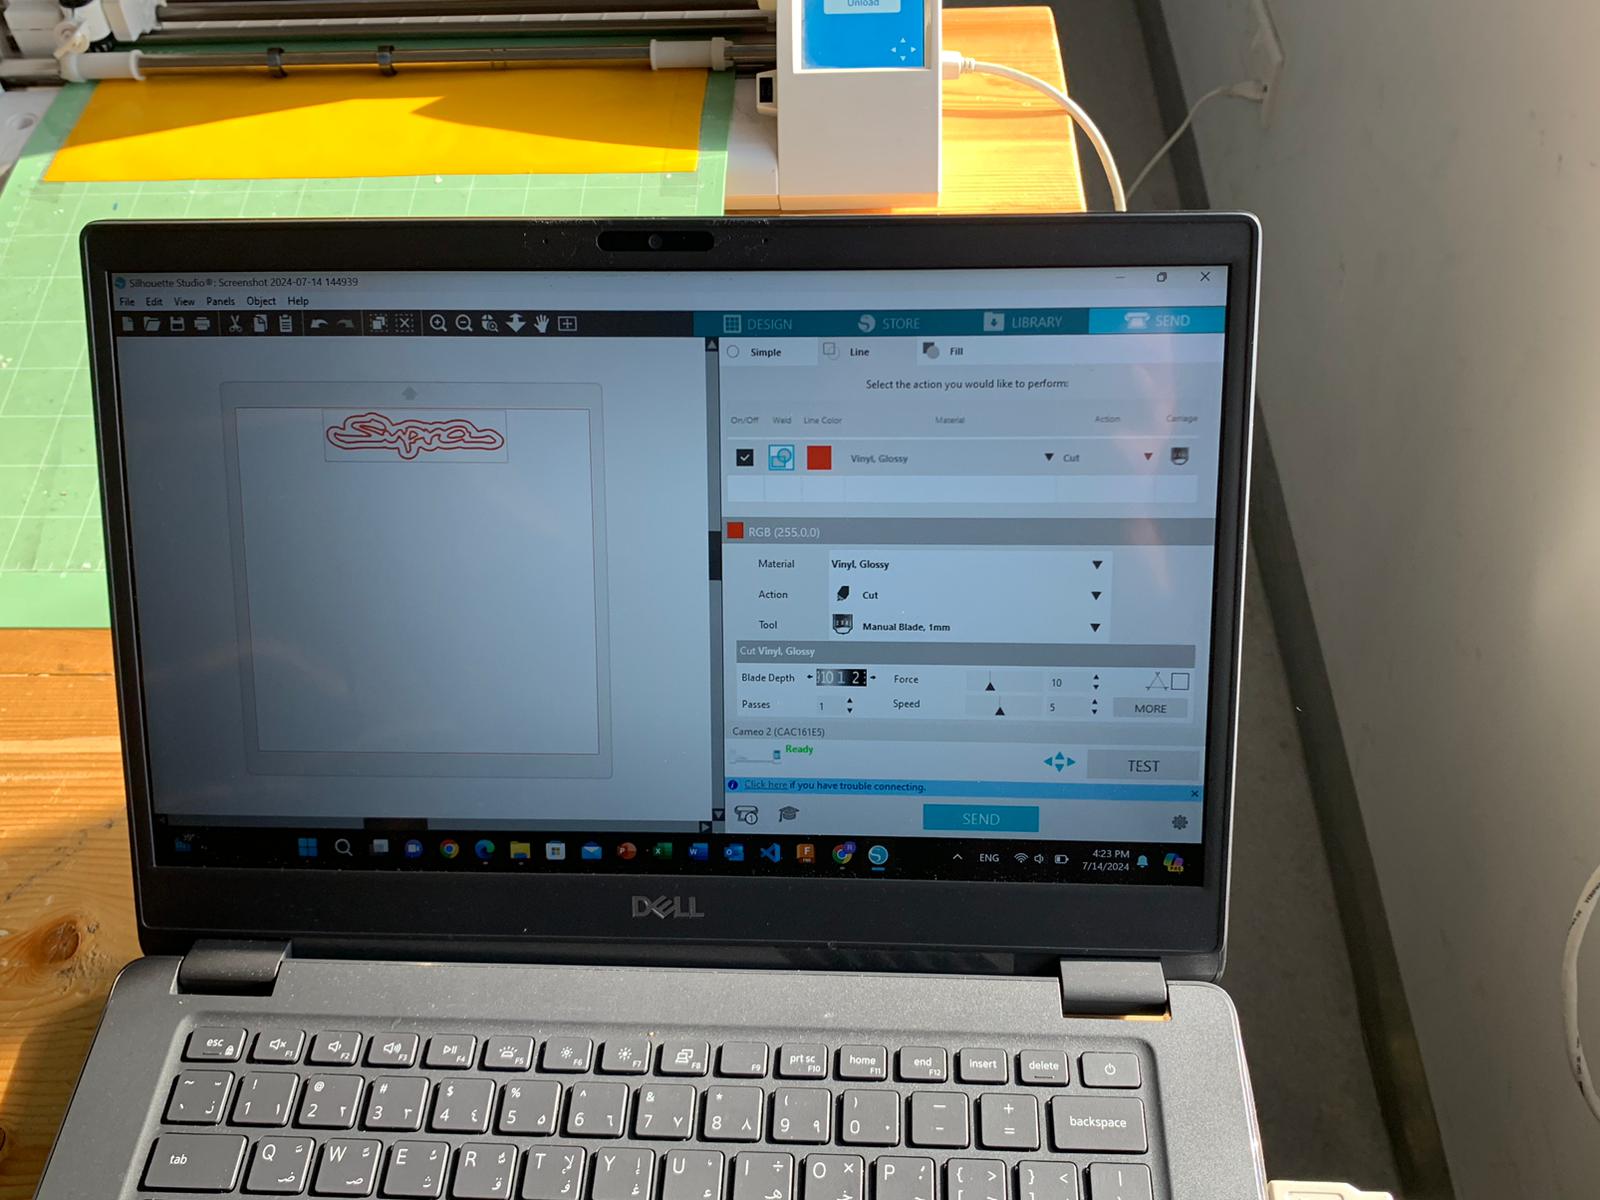
- Lastly, I tapped on “Send” to start the cutting operation.
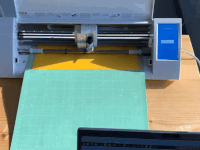
Here’s a short video of the machine while it’s performing the cutting.
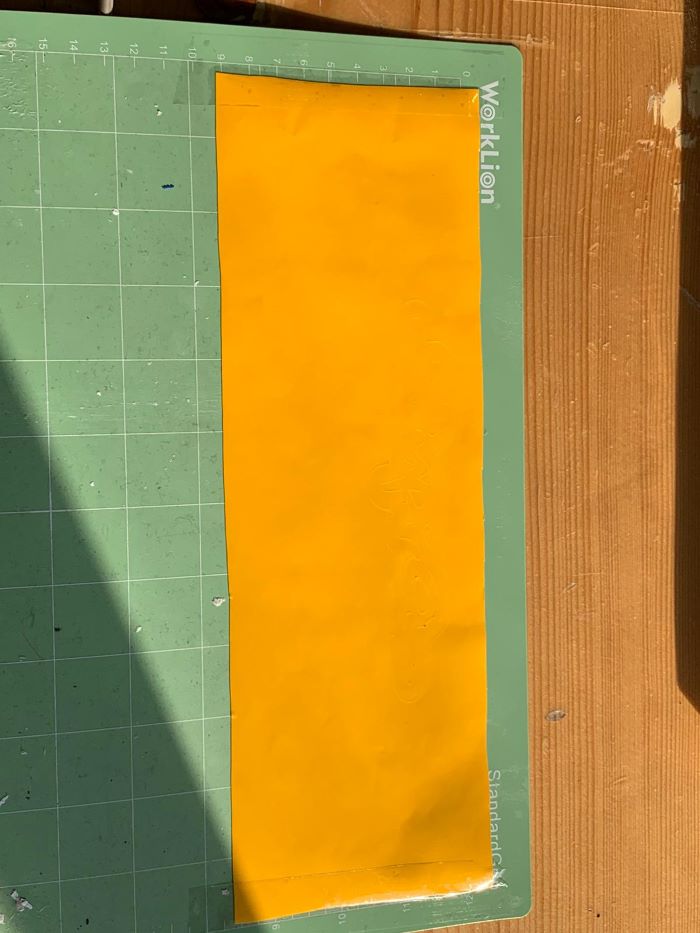
And here are the final results after removing the waste.
Group assignment
What is laser cutting?
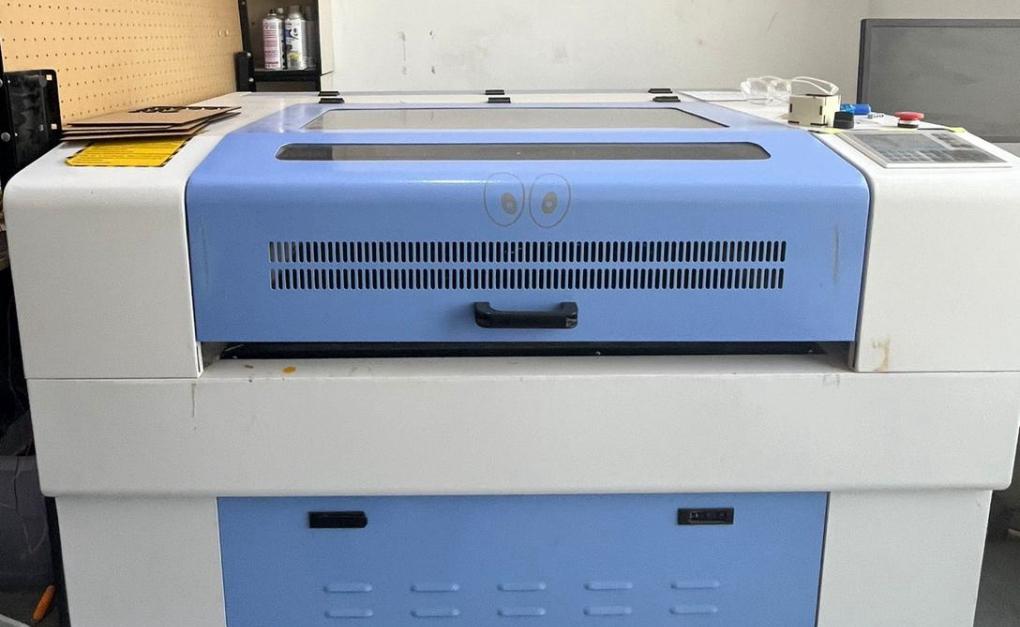
Laser cutting is a method that employs a laser to vaporize materials, resulting in a sharp edge. While it was originally designed for industrial manufacturing, it is now utilized by schools, small enterprises, architects, and hobbyists. Laser cutting is accomplished by directing the output of a high-power laser, most typically using optics. Laser optics and CNC (computer numerical control) are utilized to guide the laser beam to the material. A commercial laser for cutting materials employs a motion control system that follows a CNC or G-code of the design to be cut into the material. The concentrated laser beam is aimed at the material, which melts, burns, vaporizes, or is blasted away by a jet of gas, leaving a high-quality surface finish.
The credit goes to Faisal Fathi for his excellent work.
By clicking on the link provided below, you can view our group assignment on the laser cutting machine.
Individual Assignment
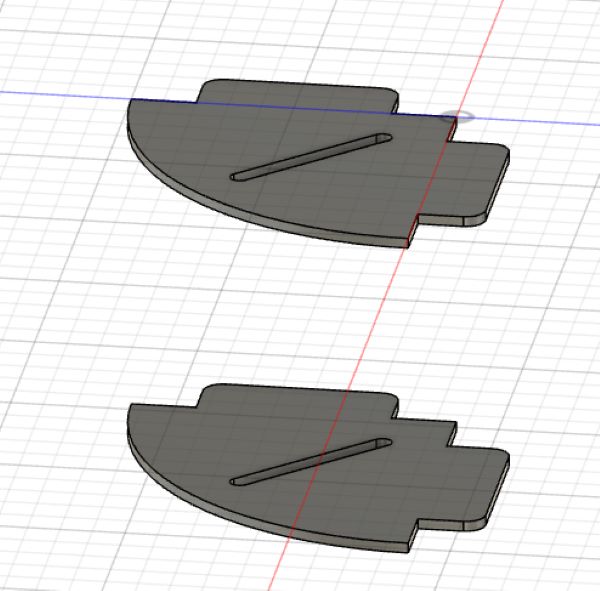
I used Autodesk Fusion to design a shape that I could assemble to create different forms, and then I cut it using the laser cutting machine.
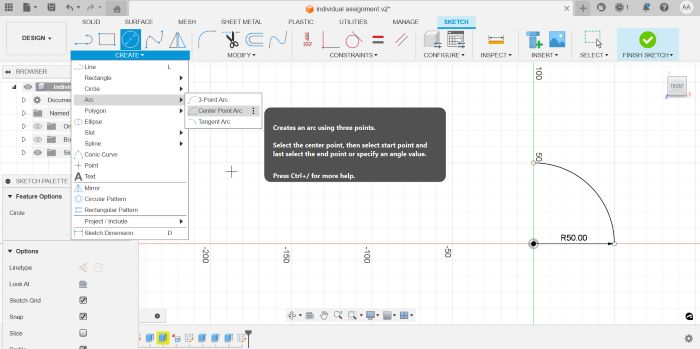
- Step 1: I drew a 50 mm quarter circle.
- Step 2: From an offset of 10 mm from the center of the circle, I drew a rectangle measuring 10 mm by 30 mm along both the x and y axes.

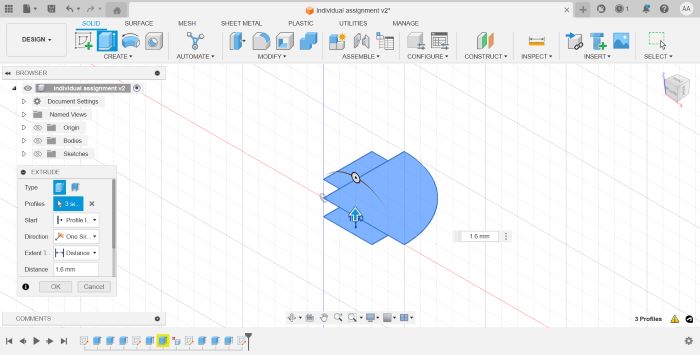
- Step 3: I then extruded the entire shape by 1.6 mm, as I am using cardboard, which has a recommended thickness of 1.6 mm.
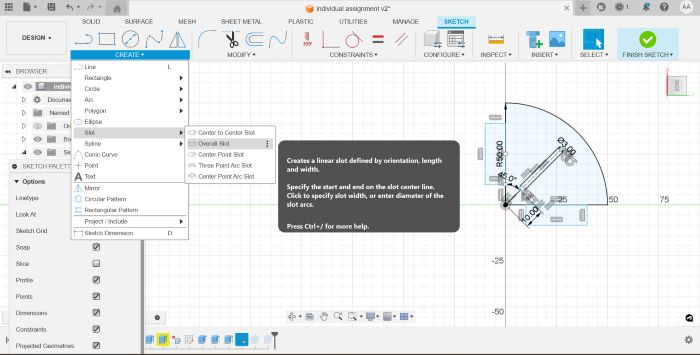
- Step 4: I found the center of the quarter circle by drawing a 10 mm line at a 45-degree angle from the origin towards the center. Then, I created a slot that was 30 mm long and 3 mm wide using the “Overall Slot” option under the slot selection in the top menu.
- Step 5: I extruded the slot by 1.6 mm, which is the thickness of the shape.

- step 6, Finally, I used the laser cutting machine to cut these pieces.
- Step 7: I uploaded the file in STL format, and then I placed the cardboard on the bed.
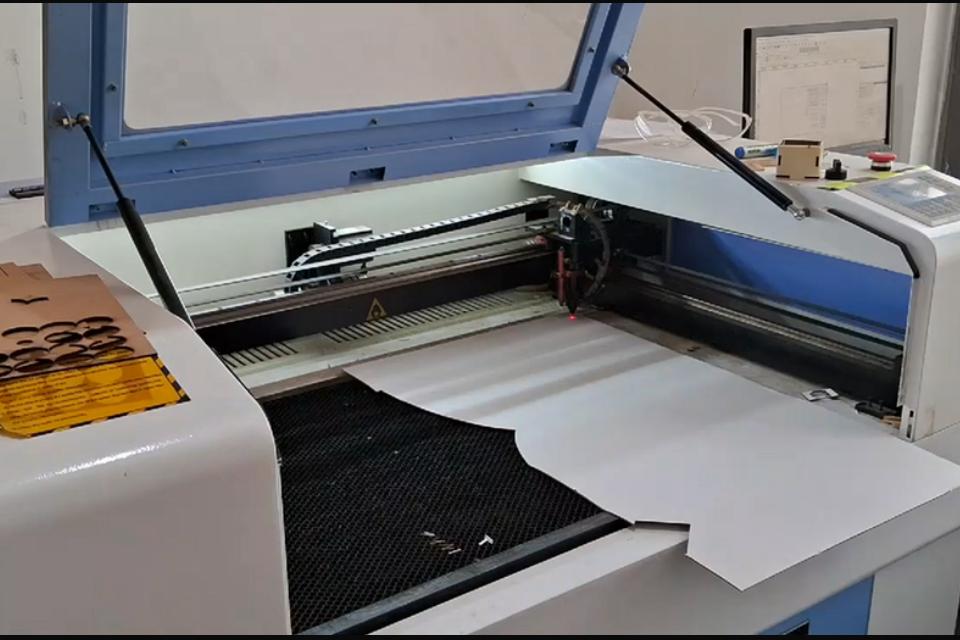
- Step 8: I tested the focal point and verified that everything was in order. After that, I pressed “Start” to initiate the cutting operation. I also ensured that the machine’s cover was closed to prevent inhaling the polluted air from the fumes generated by the burning material.
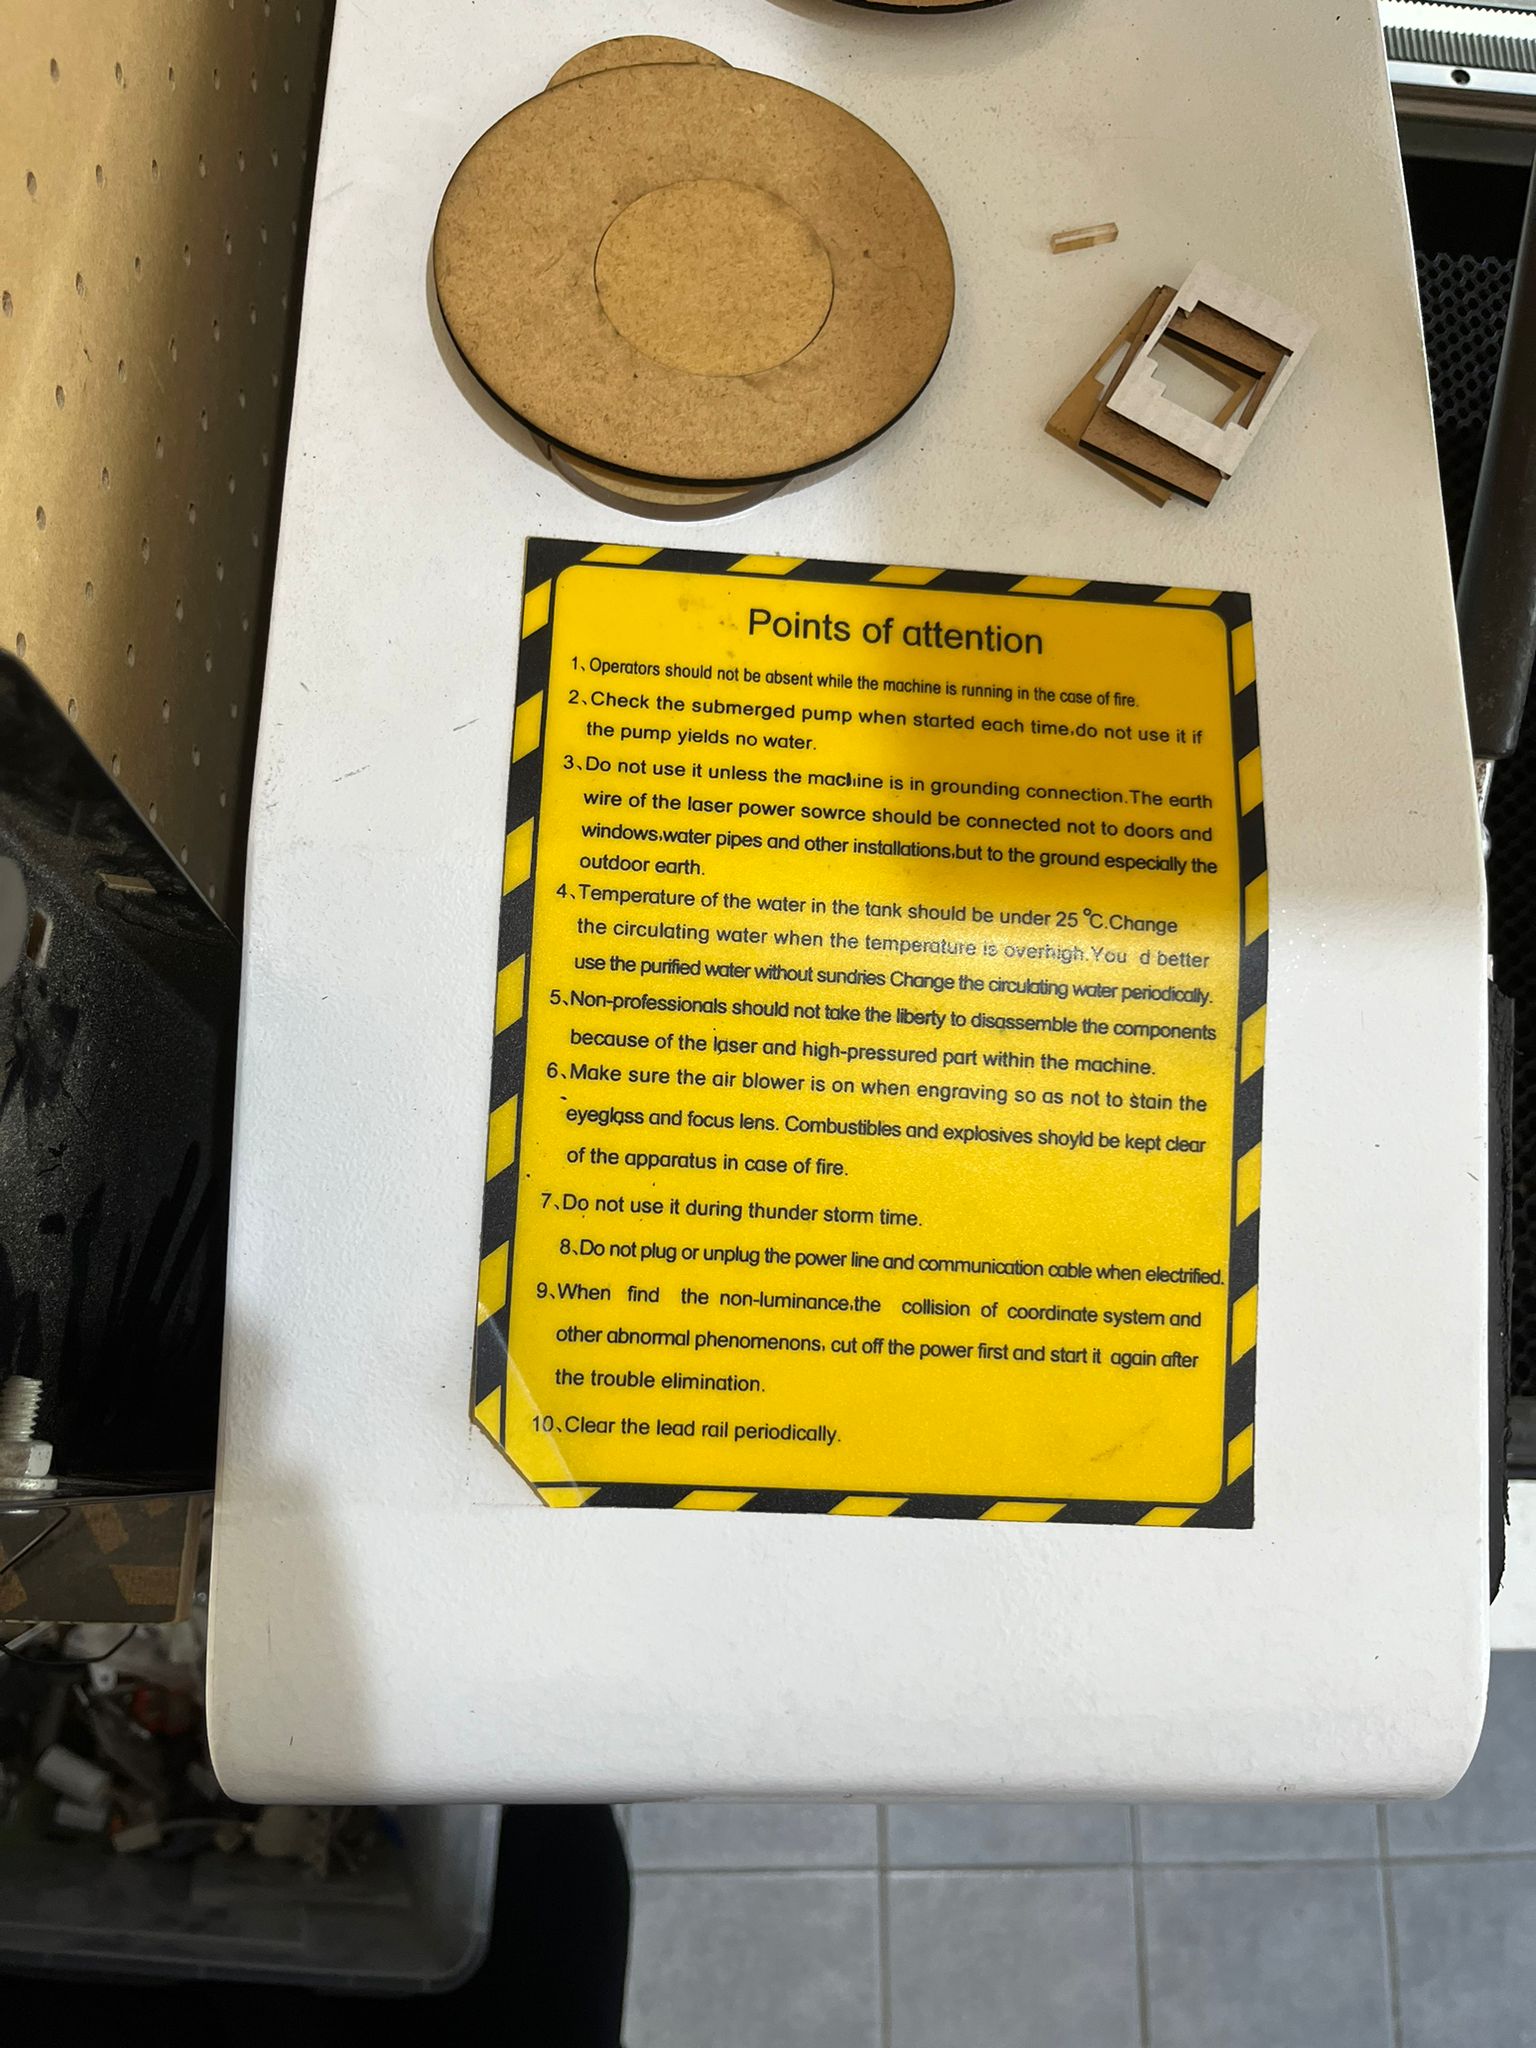
Note: You must pay attention to these instructions.
A brief video of the laser cutting machine in action while performing the cutting operation.

And this is how I press-fitted them together.
