2. Computer Aided design
Computer-Aided Design (CAD) refers to the use of computer software to create, modify, analyze, and optimize designs. It is extensively utilized in various fields, including engineering, architecture, and manufacturing. Here are the main features:
Features of CAD
Design Creation: CAD software enables users to produce detailed 2D and 3D models of objects and structures.
Precision and Accuracy: CAD tools offer high precision, ensuring accurate dimensions and specifications.
Visualization: Users can visualize designs from multiple angles and perspectives, often employing rendering techniques for realistic imagery.
Simulation and Analysis: CAD software can simulate design performance under different conditions, helping identify potential issues before production.
Documentation: CAD systems can generate detailed documentation, including drawings, specifications, and bills of materials (BOM).
Applications
CAD is employed in various industries, including:
Architecture: Designing buildings and structures.
Engineering: Creating mechanical, electrical, and civil engineering designs.
Manufacturing: Developing components and assemblies for production.
Product Design: Designing consumer products, furniture, and more.
Animation and Multimedia: Producing graphics and animations for films and video games.
Benefits
Increased Productivity: Accelerates the design process and minimizes errors.
Enhanced Collaboration: Facilitates easier sharing and teamwork on designs.
Cost Savings: Reduces material waste and production costs by identifying design flaws early in the process.
Overall, CAD has revolutionized design creation and management, leading to more efficient and innovative processes.
My drawing on cuttle.xyz
-
First, I set up an account on cuttle.xyz.
-
Second, I started a new project on cuttle.xyz.

- Third, I learned how to draw on cuttle.xyz using various design shapes, such as circles, squares, and polygons.
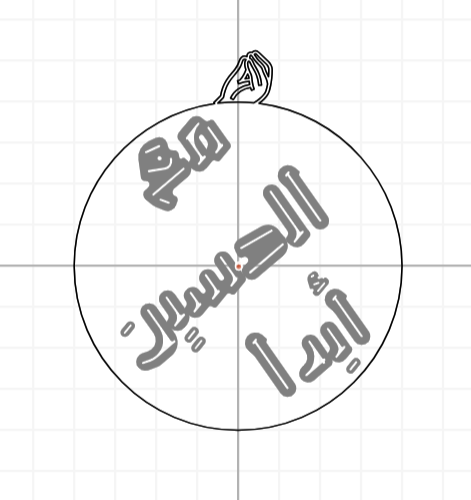
And here is a sample of my drawing.
procedure
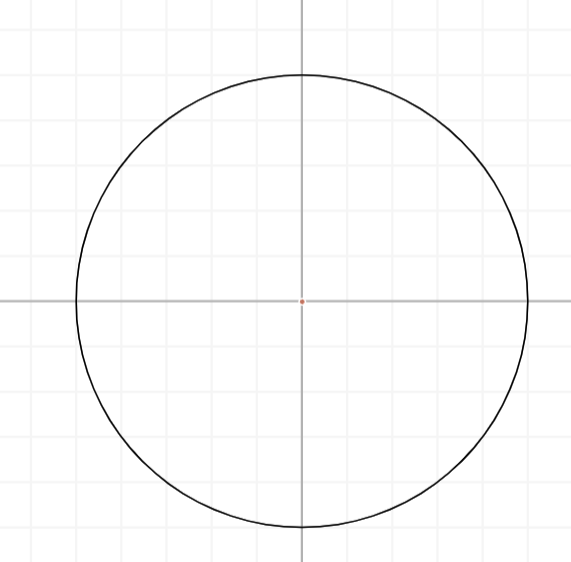
- Step 1: I opened a new blank project on cuttle.xyz.
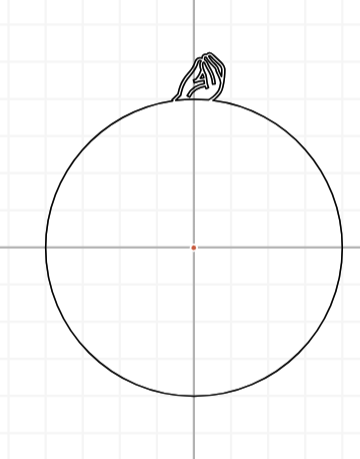
- Step 2: I selected the circle and dragged it to the center.
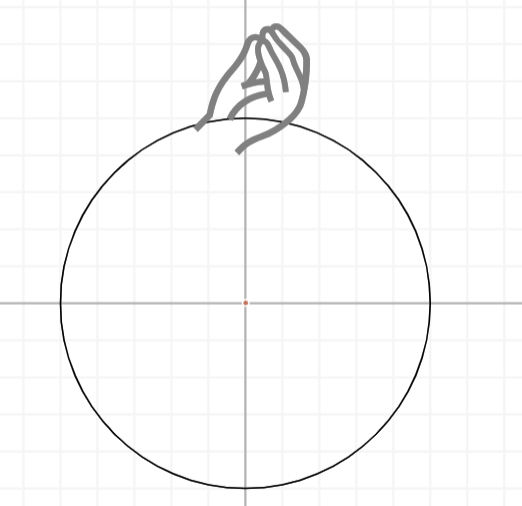
- Step 3: Similarly, I tapped on the emoji from the left bar and dragged it to the top center of the circle.
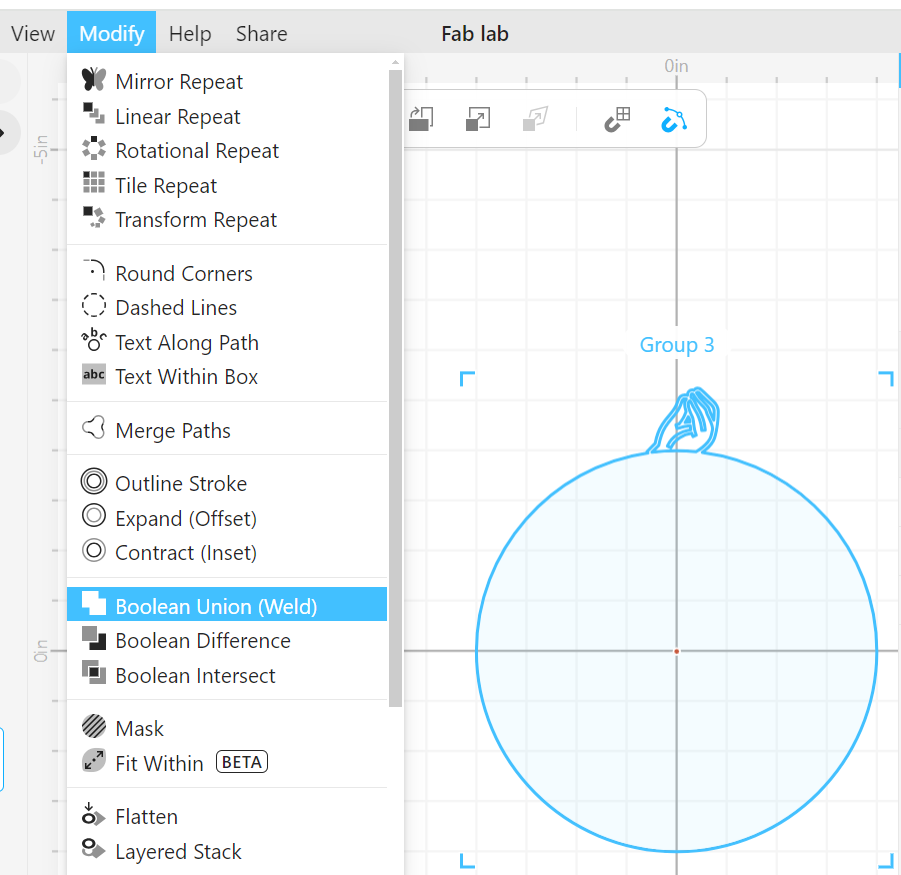
- Step 4: I selected both the circle and the hand emoji, then tapped on Modify from the options in the top bar. I clicked on “Boolean Union (WELD)” to merge the hand emoji with the circle and remove any extra lines appearing inside the circle.
- Step 5: I added text using the option from the left bar.
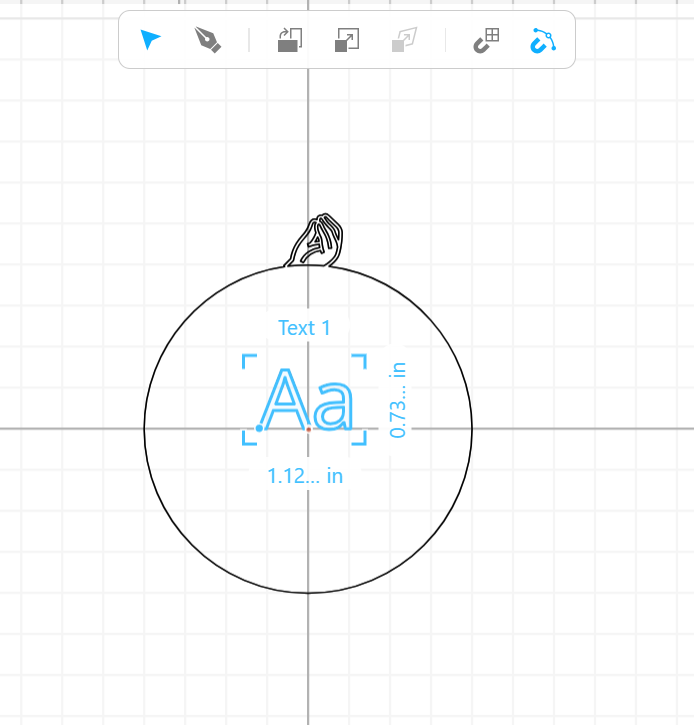
- Step 6: I edited the text to my liking, then selected it and tapped on Modify in the top bar. After that, I chose the option called Round Corner.
In my opinion, cuttle.xyz was quite enjoyable to use and helped me learn how to draw 2D shapes effectively.
My drawings on Autodesk fusion
First, I downloaded Autodesk Fusion using Google.
Then, I learned how to use some of the tools and how to draw in Fusion.
And here is a sample of what I created in Fusion.
ipad cover
procedure
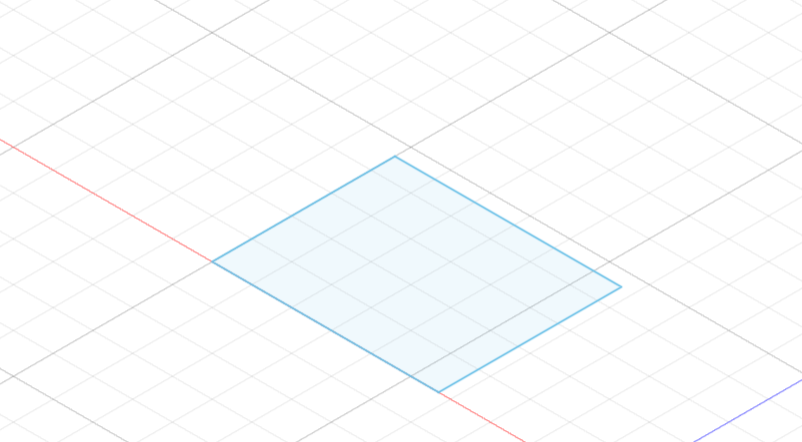
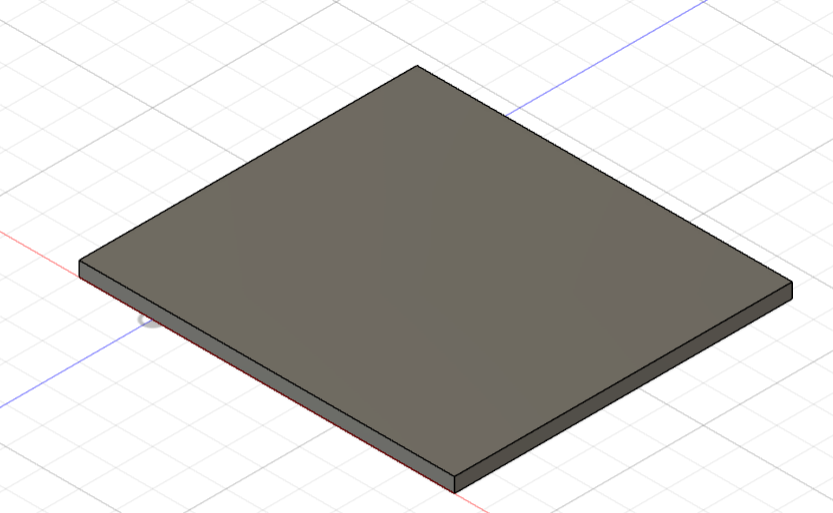
- Step 1: I drew a rectangle with a height of 280.5 mm and a width of 230 mm, then I extruded it to about 10 mm by right-clicking on it and selecting the Extrude option.
Drawing
Extruding
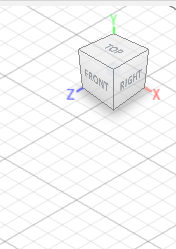
- Step 2: Then, I selected the preferred angle or face by rotating the cube in the top right corner.
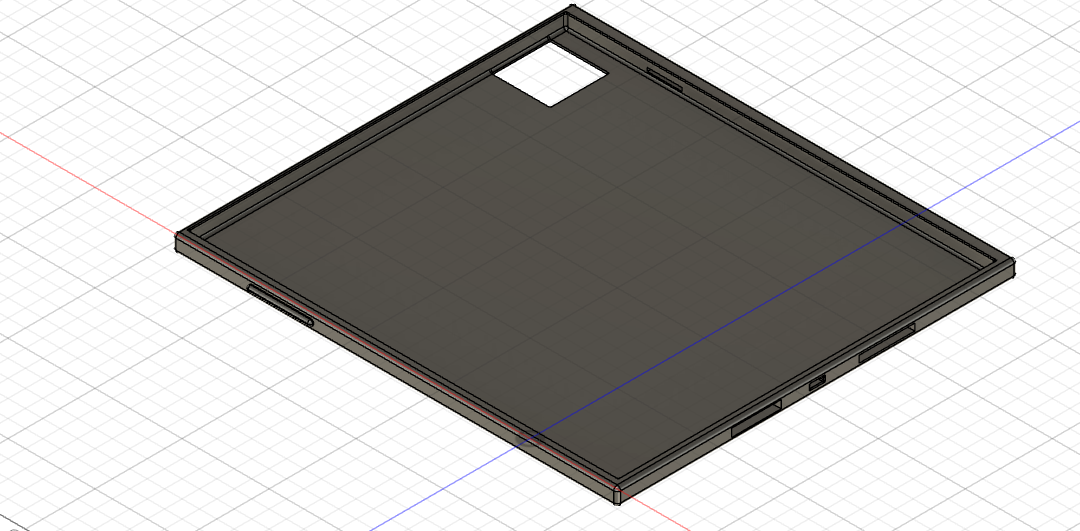
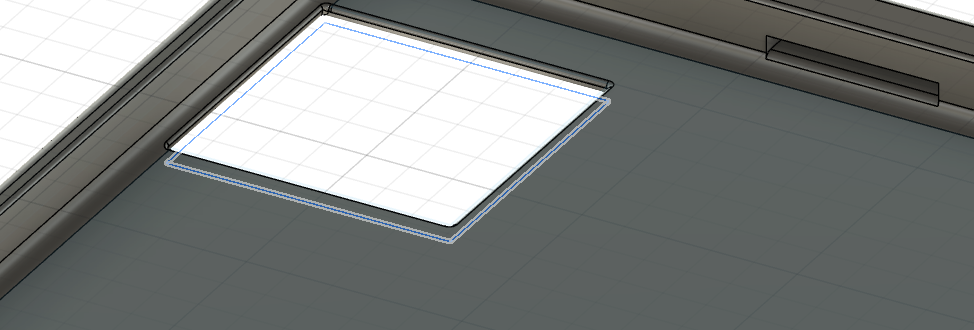
- Step 3: I drew the camera slot, which is approximately a 33 mm by 33 mm square, offset 18 mm from the right side and 5 mm from the top when viewing the object from the back.
- Step 4: I drew a rectangle with a height of 260.5 mm and a width of 210 mm, then extruded it to the back by 8 mm.
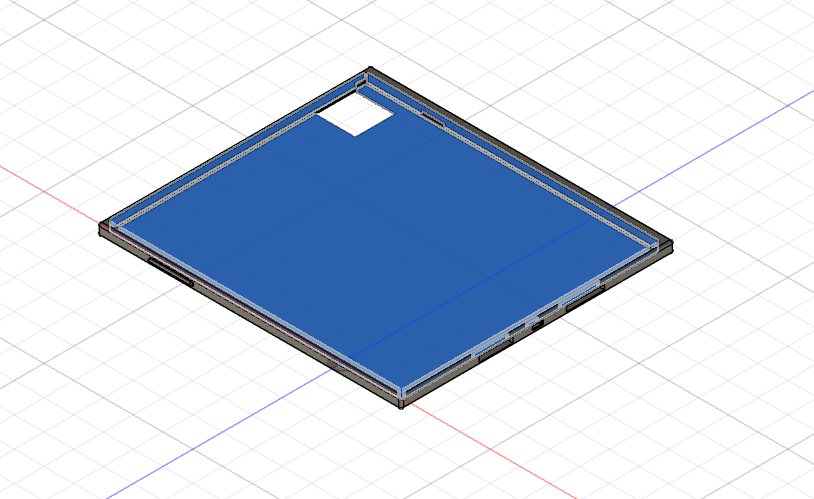
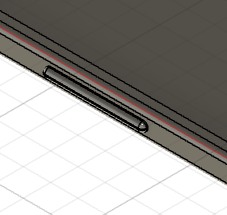
- Step 5: I created the power button by drawing a rectangle on the right side of the iPad cover and then extruding it by 2 mm.
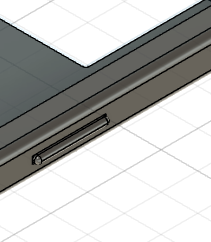
- Step 6: Using the same procedure, I created both the charging slot and the speaker slot. However, instead of extruding them in the positive direction, I extruded them in the negative direction.
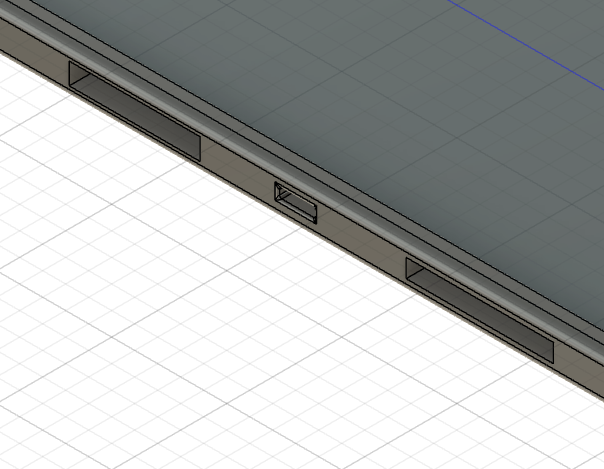
- Step 7: I formed the volume control button using the same procedure as in the previous step.
- Lastly, I smoothed all the edges using the “Fillet” option. I right-clicked on the lines I wanted to smooth, selected Fillet, specified the degree of the fillet, and then tapped OK.
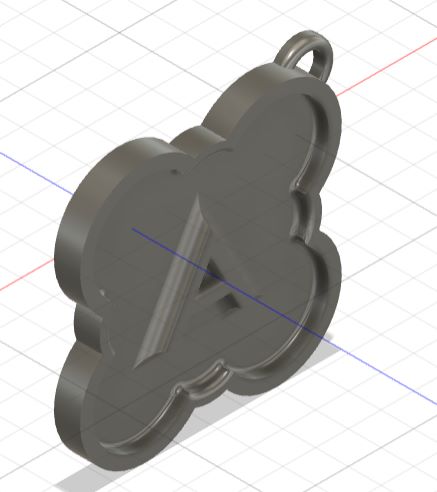
Another drawing using Autodesk Fusion
This was the perfect app to create 3D shapes, at the beggining it was a bit difficult to use and form things for me, but in general it is a great platform to creat 3D objects.
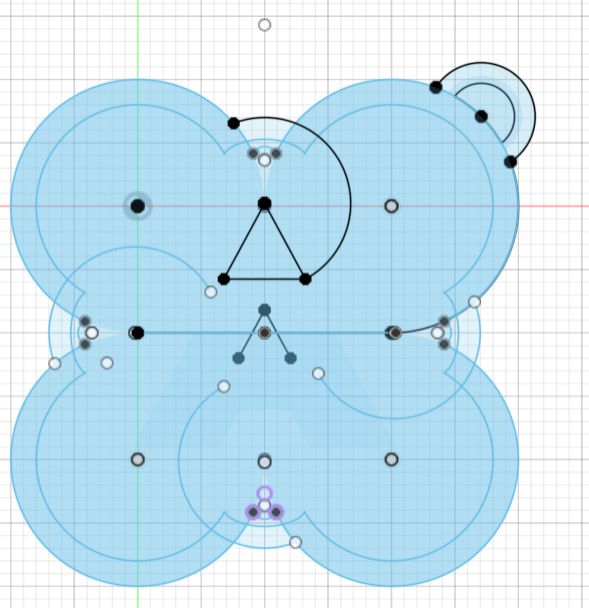
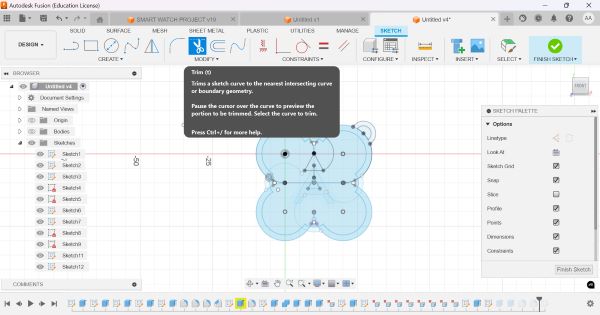
- Step 1: I drew four circles with a diameter of 20 mm, then added the letter A in the center of the four circles. After that, I trimmed the extra lines using the “Trim” option.
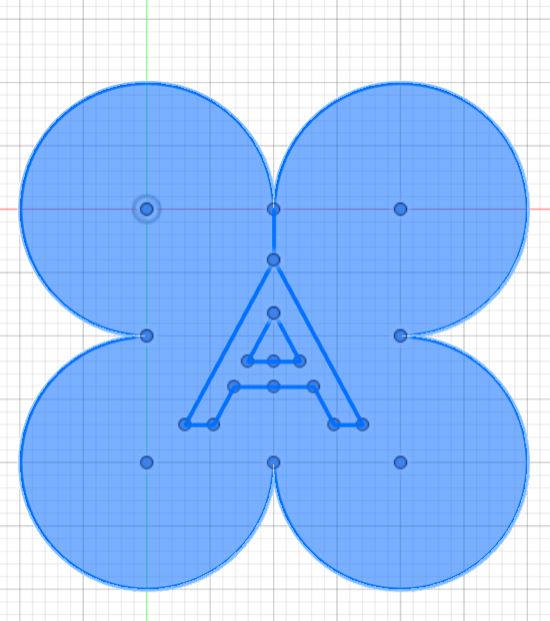
- Step 2: I drew a hole on the outer periphery of the circle on the right. This hole will allow me to hang the keychain with my keys.
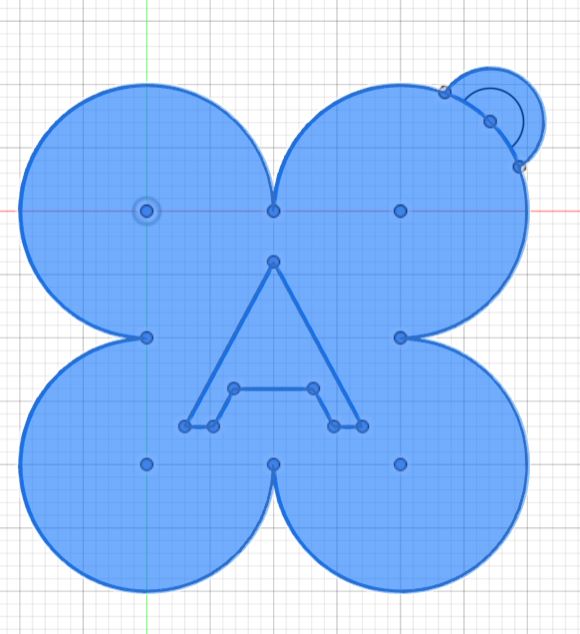
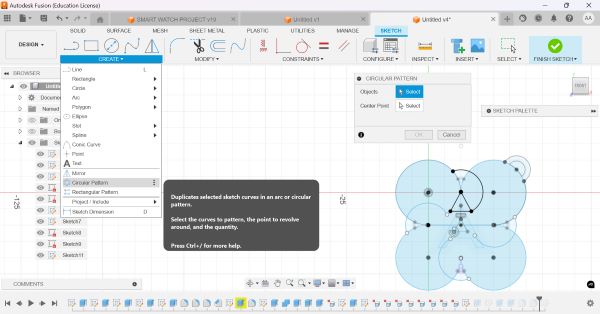
- Step 3: I drew a circle between the two circles on top, used the “Trim” option to erase the extra line, then tapped on “Create” and selected “Circular Pattern.” I chose the arc I wanted to create a pattern from.
- Lastly, I extruded the shape by selecting the portion I wanted to extrude, then right-clicking and tapping on “Extrude.”
And here is my simple design, which I created from scratch using Autodesk Fusion.
This was the ideal app for creating 2D and 3D shapes. Initially, it was a bit challenging for me to use and form objects, but overall, it is a fantastic platform for designing 3D models.
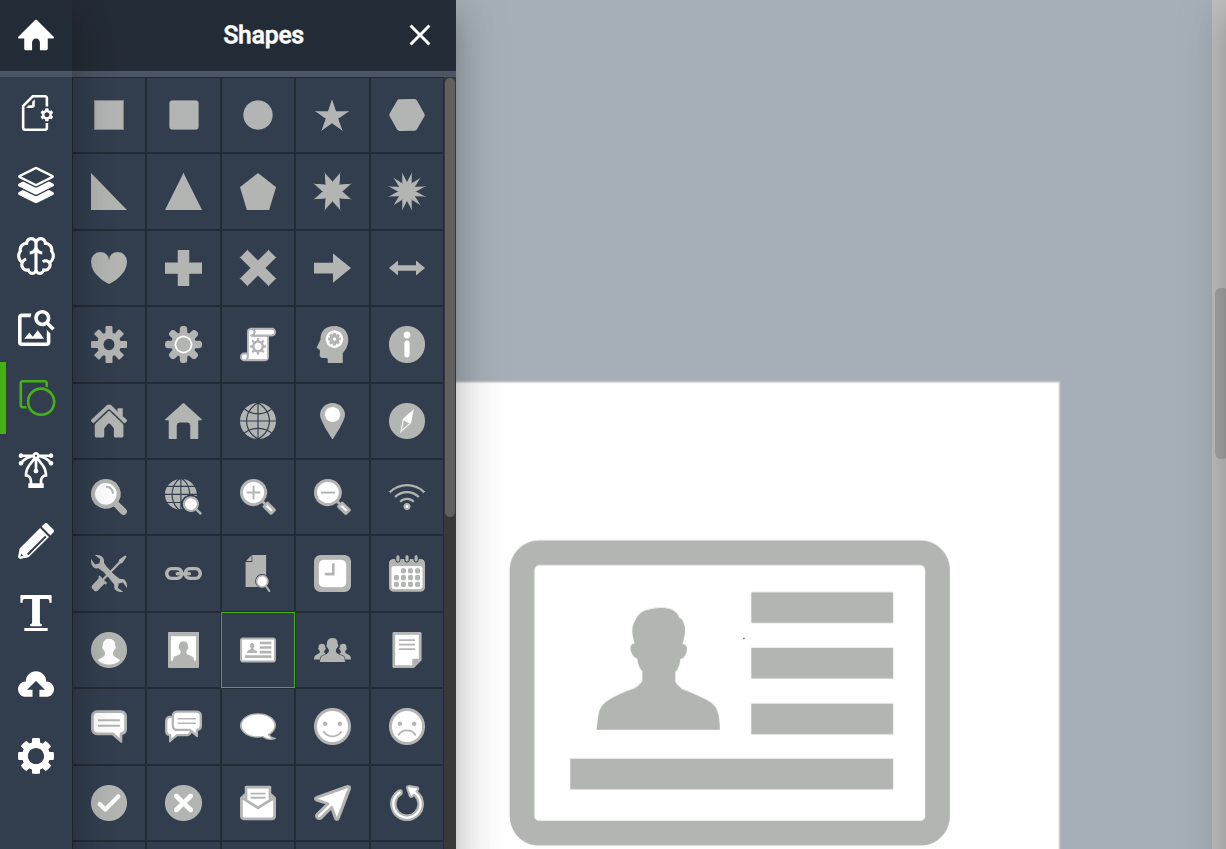
My drawing on Vectr
It was essentially about creating an ID card for a university requirement.
Procedure to form an ID CARD
- Step 1: I tapped on the Shapes selection from the bar on the left and chose the ID shape.
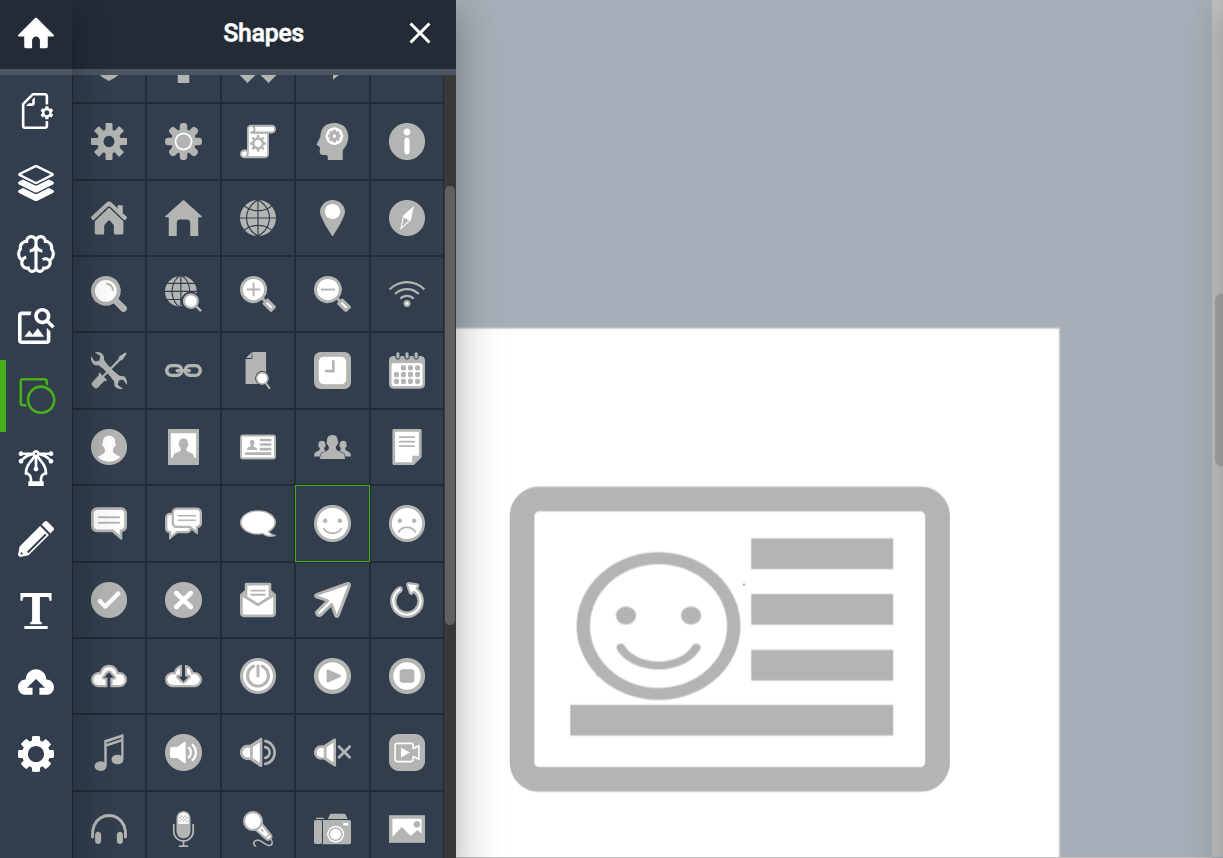
- Step 2: I selected the smiling emoji from the same bar on the left and positioned it within the boundaries of the ID image.
- Lastly, I selected the Text option, positioned it within the ID text boundary, and then entered my information.
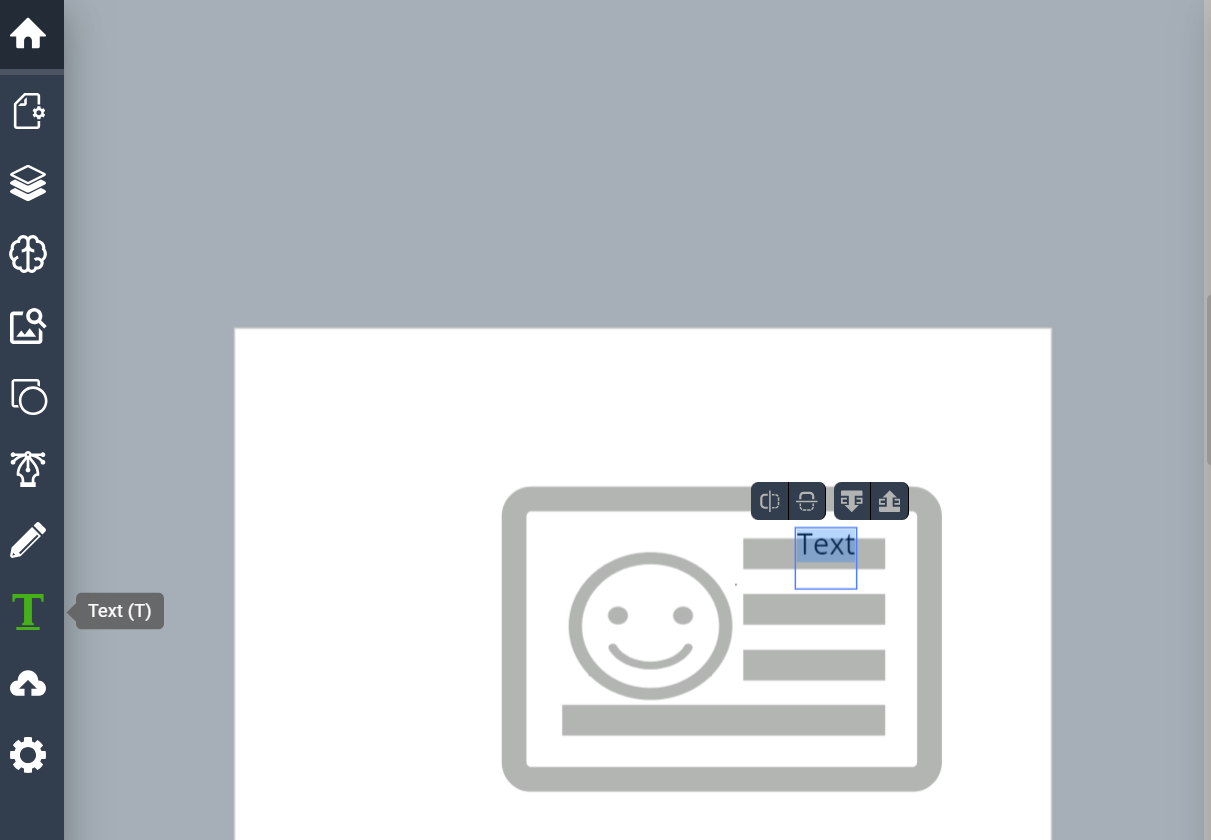
And this is the procedure I followed to create my own ID card.
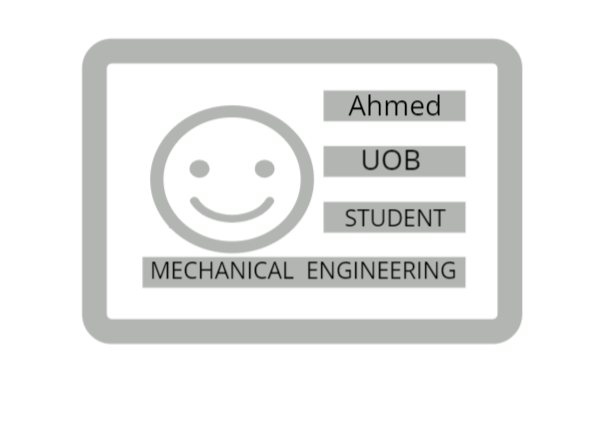
And you can follow the same procedure to make own.
Out of all the three apps I used to create different models, this one was the easiest to use, and I liked it a lot.